


What is a Toilet Inlet Valve and When Should You Replace It?
A toilet inlet valve, commonly referred to as a fill valve, is the unsung hero of your bathroom’s plumbing system. Located inside the toilet tank, its primary job is to control the flow of water coming from your main water line into the tank. When you flush, the water level drops, causing a float mechanism (either a floating ball on an arm or a modern floating cylinder that slides up and down the valve shaft) to drop. This movement opens the valve, letting fresh water rush in. As the tank fills, the float rises. Once the water reaches a pre-set level, the float shuts the valve off, stopping the flow.
If this valve is damaged or worn out, the water won’t stop flowing, leading to a massive amount of water waste. Over time, mineral deposits, sediment, and general wear-and-tear degrade the internal seals. In our service areas around Houston and Galveston County, the local water chemistry can sometimes accelerate this wear. Generally, a fill valve has a lifespan of about 5 to 7 years, though many industry standards suggest proactive replacement every 4 to 5 years to prevent unexpected leaks and high utility bills. If you want to learn more about the mechanics of this system, check out our guide on fixing toilet fill valves.
Signs You Need a Toilet Inlet Valve Replacement
How do you know it is time for a toilet inlet valve replacement? Your toilet will usually drop a few hints before it fails completely. Keep an ear and an eye out for these common warning signs:
- The Constant Running Water Sound: If you hear water trickling or running continuously into the bowl long after the flush cycle should have ended, your valve is likely failing to shut off completely.
- A High-Pitched Hissing or Screeching Noise: This is often caused by water squeezing through a deteriorated internal diaphragm washer under high pressure.
- Extremely Slow Refill Times: If your tank takes ages to fill back up after a flush, sediment has likely clogged the narrow passages inside the valve.
- Unexplained Water Bill Spikes: A small, barely noticeable trickle can waste up to 9,000 litres of water annually.
- The “Phantom Flush”: If your toilet periodically turns on and runs for a few seconds out of nowhere, the valve may be struggling to maintain the correct water level, or you might have a slow leak through your flapper.
Sometimes, a running toilet is caused by a stiff or cracked rubber seal inside the valve rather than a completely broken unit. If you want to try a smaller fix first, you can read about how to replace or install an inlet valve washer to see if a simple washer swap solves your issue.
Understanding Bottom, Side, and Rear Entry Valves
Before heading to your local home improvement store in Pearland or League City, you need to know what type of inlet valve your toilet uses. The differences come down to where the water supply line connects to your toilet tank (the cistern):
- Bottom Entry Valves: These are the most common in modern residential homes across Texas. The water supply line connects through the bottom of the toilet tank. They are highly favored because they keep the plumbing connections tucked neatly out of sight.
- Side Entry Valves: Commonly found in older homes or commercial restrooms, these connect through the upper left or right side of the tank.
- Rear Entry Valves: Often found in modern, back-to-wall toilet suites where the plumbing is completely concealed behind the toilet structure. These often require specialized adapters to install properly.
Many modern replacement valves are “multi-fit” or universal, meaning they can be adjusted or reconfigured to work with multiple entry styles. Additionally, when choosing a replacement, look for models featuring a heavy-duty brass shank rather than a plastic one. A high-quality universal bottom entry toilet inlet valve with a brass tail provides a much stronger metal-to-metal connection that resists cross-threading and cracking during installation.
| Valve Entry Type | Connection Location | Common Application | Key Advantage |
|---|---|---|---|
| Bottom Entry | Bottom of the tank | Modern residential toilets | Clean look, quiet fill |
| Side Entry | Upper left/right side | Older homes, public restrooms | Easy access for maintenance |
| Rear Entry | Back of the tank | Concealed, back-to-wall suites | Completely hides all plumbing |
Tools and Preparation for Toilet Inlet Valve Replacement
Having the right tools on hand before you start will keep you from running to the hardware store with a half-disassembled toilet.
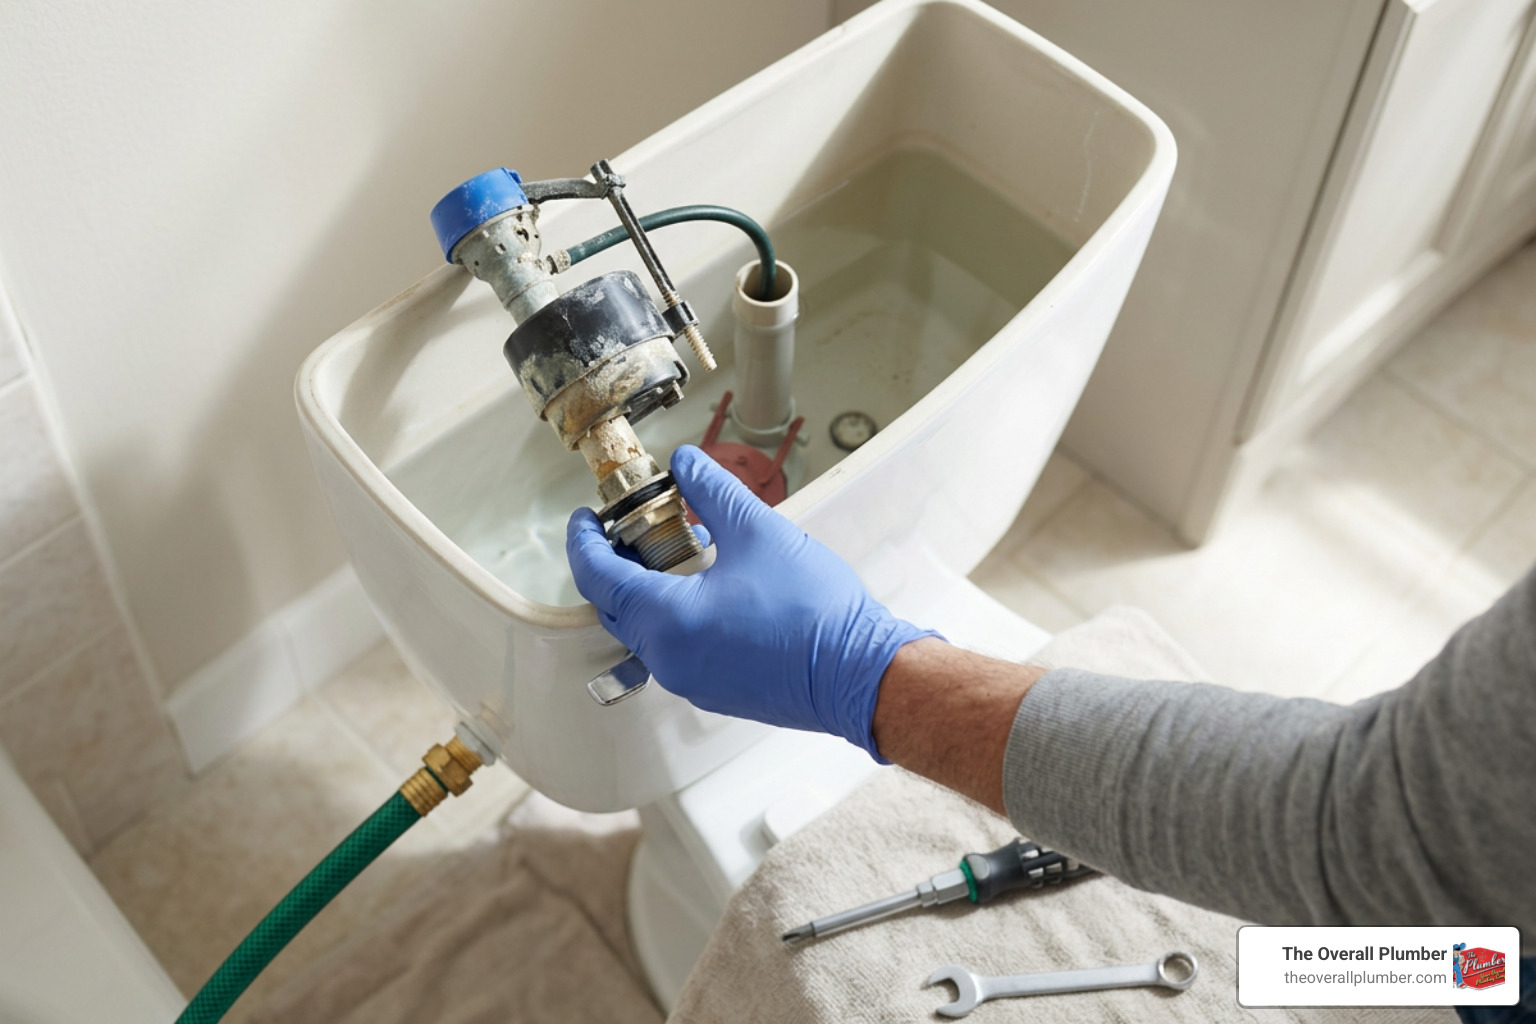
Gather these items before you begin:
- An adjustable wrench (or slip-joint pliers)
- A small bucket or shallow container (to catch residual water)
- A large sponge and old towels
- A replacement toilet inlet valve kit
- Rubber gloves
For a complete breakdown of the tools and materials DIYers prefer for this job, you can consult the DIYer’s guide to toilet fill valve replacement on Family Handyman.
Safely Turning Off the Water Supply
Before you loosen a single nut, you must isolate the water supply. If you skip this step, you will turn your bathroom into a temporary swimming pool.
- Locate the Shutoff Valve: Look behind the toilet, near the floor. You will see a small valve connected to a metal or braided hose leading to the bottom of the tank.
- Turn Off the Water: Rotate the handle clockwise until it stops. If you have an older multi-turn valve, it may take several rotations. If it is a quarter-turn valve, simply flip it 90 degrees.
- Drain the Tank: Flush the toilet and hold the handle down to force as much water as possible out of the tank and down the drain.
- Remove Residual Water: There will still be an inch or two of water left at the bottom of the tank that the flush couldn’t reach. Place your bucket under the supply line connection, then use your sponge to soak up the remaining water from inside the tank, squeezing it out into the bucket until the bottom of the tank is completely dry.
Step-by-Step Guide to Removing the Old Valve
Now that your work area is dry and safe, it is time to remove the old, faulty valve.
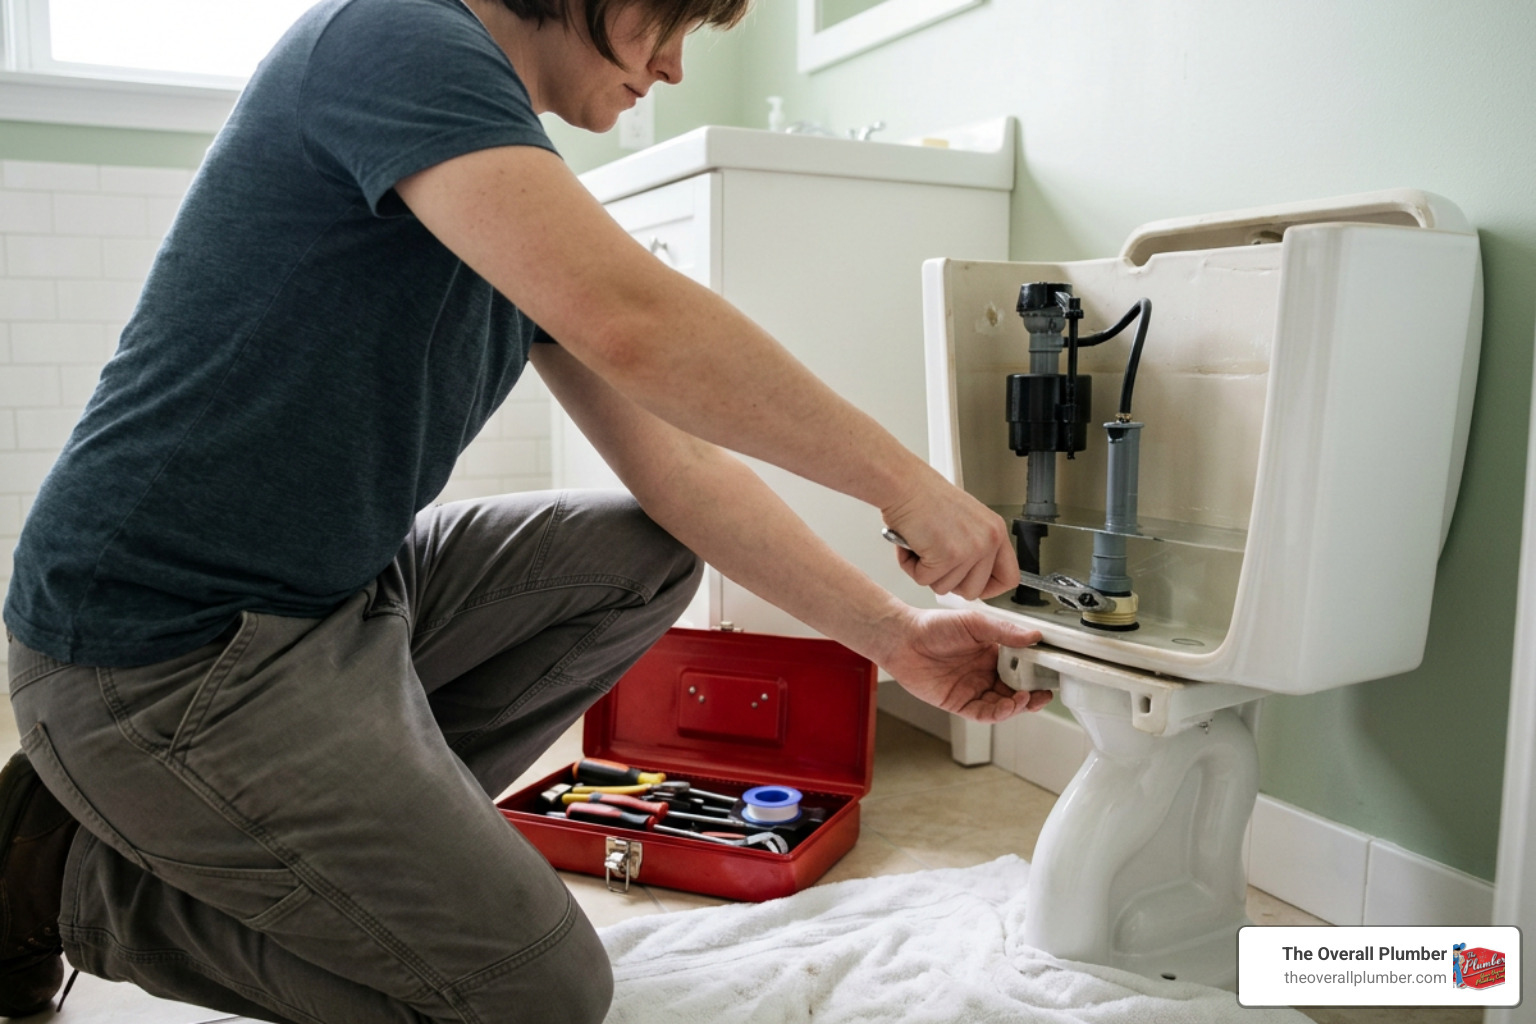
- Disconnect the Supply Line: Place a towel or shallow pan directly beneath the water connection under the tank. Using your adjustable wrench, turn the coupling nut on the water supply line counterclockwise to disconnect it from the threaded shank of the fill valve.
- Remove the Lock Nut: Directly above the supply line connection, right against the outer underside of the porcelain tank, you will find a plastic or brass lock nut holding the valve in place. Unscrew this lock nut by turning it counterclockwise. If it is plastic and stubborn, use your pliers gently so you do not crack the porcelain tank.
- Disconnect the Refill Tube: Inside the tank, locate the small rubber or plastic refill tube that runs from the top of the inlet valve to the vertical overflow pipe. Clip or pull it off the overflow pipe.
- Lift the Old Valve Out: Gently lift the entire inlet valve assembly straight up and out of the toilet tank.
- Clean the Area: Take your sponge and wipe away any accumulated sediment, black rubber residue, or mineral buildup around the mounting hole at the bottom of the tank. A clean surface ensures the rubber seal on your new valve will seat perfectly.
If you prefer a visual reference for these steps, you can watch this step-by-step guide to replacing your toilet fill valve on YouTube.
How to Install and Adjust Your New Inlet Valve
With the old valve out of the way, you are ready to install the brand-new one.
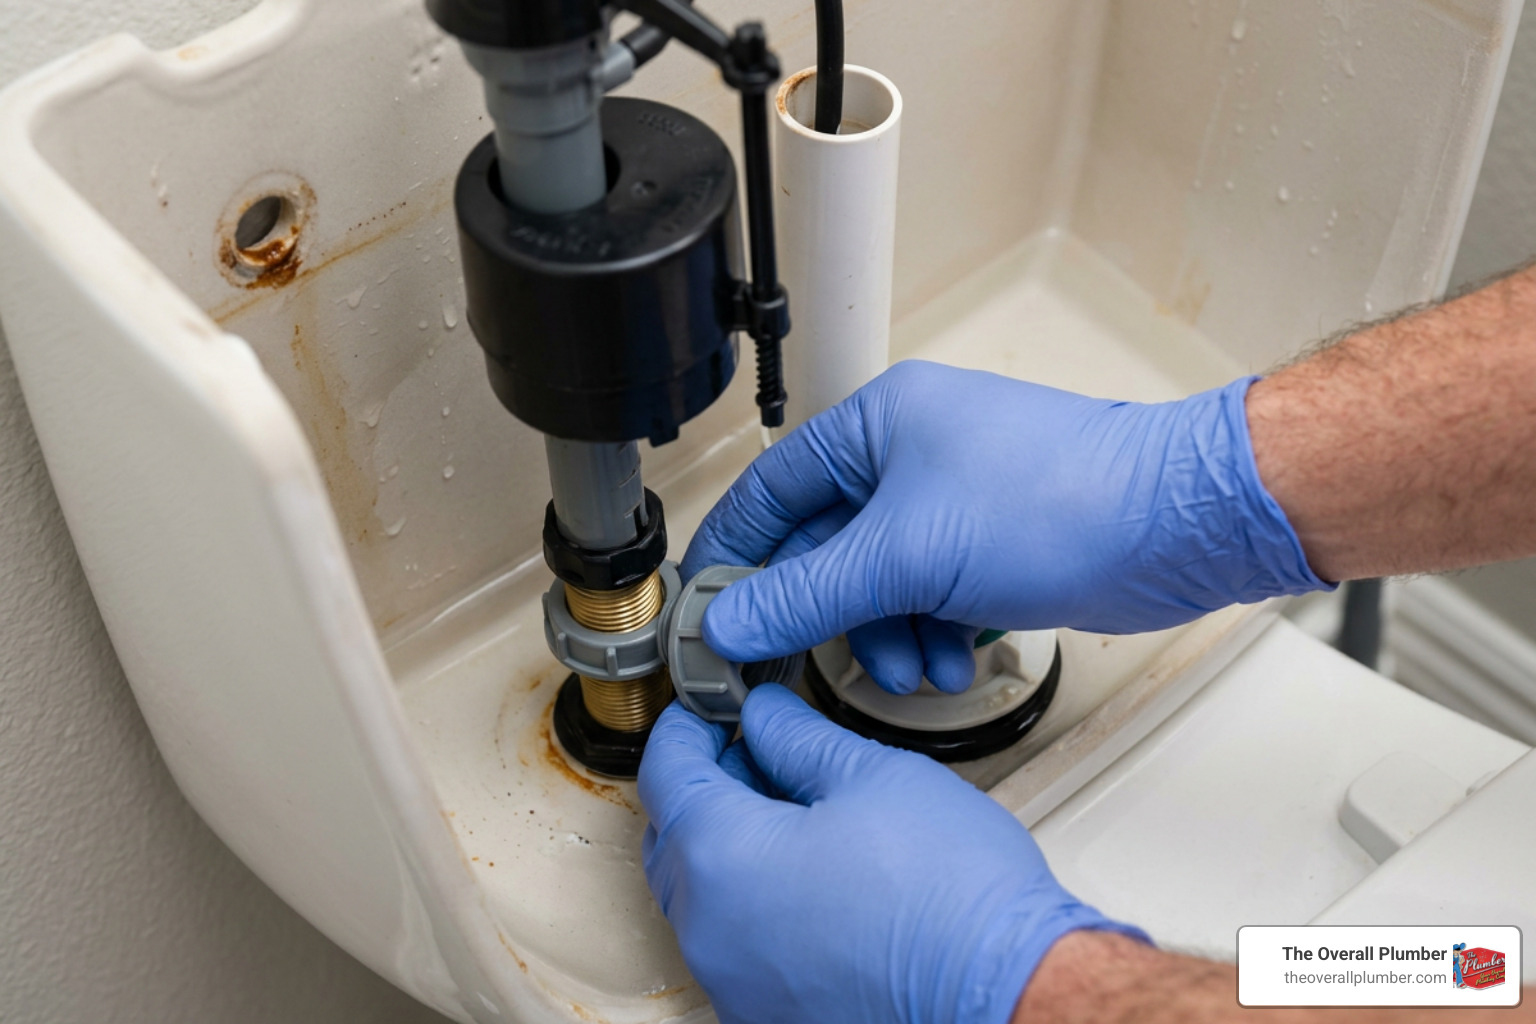
- Adjust the Height of the New Valve: Most modern fill valves are adjustable. Before putting the new valve in the tank, compare its height to your old valve or the height of your tank. You want the top of the new valve to sit so that its critical level mark (usually stamped on the valve body) is at least 1 inch above the top of the overflow pipe. To adjust, twist the upper and lower sections of the valve body to unlock it, slide it to the correct height, and twist to lock it back in place.
- Position the Rubber Washer: Slide the rubber sealing washer onto the bottom of the threaded shank of the new valve. The flat side of the washer should face upward against the valve body, and the tapered side should point down to seal tightly inside the tank’s mounting hole.
- Insert the Valve: Place the new valve assembly into the tank, guiding the threaded shank through the hole in the bottom of the tank. Press down gently to compress the rubber washer.
- Secure with the Lock Nut: From underneath the tank, thread the new lock nut onto the shank. Spin it clockwise by hand until it is snug against the porcelain. Hand-tighten only! Overtightening can easily crack the toilet tank.
- Reconnect the Water Supply: Thread the water supply line coupling nut back onto the valve shank. Hand-tighten it, then give it a very gentle quarter-turn with your wrench. Do not use thread sealant tape or plumber’s putty on these connections, as the rubber seals inside are designed to do all the work.
- Attach the Refill Tube: Push one end of the new refill tube onto the small nipple near the top of the fill valve. Attach the other end to the angle adapter clip, and clip it onto the top of the overflow pipe so water drains down into the tube.
For further clarification on aligning these components correctly, refer to the manufacturer-backed steps on how to replace or install an inlet valve.
Adjusting the Height and Water Level
Once the valve is physically secured, you need to fine-tune the water level. Look inside your tank for a stamped “Water Level” mark or line on the porcelain. If there isn’t one, a good rule of thumb is to set the water level about 1 inch below the top of the vertical overflow tube.
- To adjust the level on modern valves, locate the plastic screw rod next to the float cup.
- Using your fingers or a screwdriver, turn the adjustment screw clockwise to raise the water level, or counterclockwise to lower it.
- While you are working inside the tank, it is also a great time to inspect your flapper. If your flapper is slimy, warped, or leaking, you can easily handle a flapper replacement toilet in under an hour to ensure your entire flushing system is running at peak efficiency.
Testing Your New Toilet Inlet Valve Replacement
Now comes the moment of truth!
- Turn the Water Back On: Slowly turn the shutoff valve counterclockwise. Let the water flow in gradually so you can monitor the new connections for immediate leaks.
- Check for Leaks: Keep a close eye on the lock nut under the tank and the supply line connection. Feel around them with a dry hand. If you detect any dampness, give the nuts a tiny fraction of a turn with your wrench until the dripping stops.
- Observe the Fill Cycle: Watch the tank fill. The float should rise smoothly without rubbing against the sides of the tank or the flush mechanism.
- Verify the Shutoff: The water should stop flowing completely once it reaches your adjusted water level mark.
- Test the Flush: Flush the toilet a few times. Ensure the tank empties fully, the flapper seals properly, and the fill valve shuts off cleanly at the correct height every single time.
While testing, if you notice water pooling around the very base of your toilet where it meets the floor, the issue might not be the fill valve at all, but rather a failed wax ring. If so, you can learn how to stop the swamp with a new toilet seal to keep your bathroom floor dry and safe.
Troubleshooting Common Post-Installation Issues
Even with careful installation, minor issues can pop up. Here is how to handle them:
- The Toilet Won’t Stop Running: Double-check that your refill tube isn’t pushed too far down into the overflow pipe. If it is below the water line, it can create a siphon effect, constantly draining water out of the tank and forcing the fill valve to stay open. Also, ensure the float cup has enough clearance and isn’t catching on the tank wall.
- Slow Refilling or No Water Flow: This is often caused by debris or solder from your household pipes getting lodged in the valve’s internal filter during the initial turn-on. Shut off the water, remove the top cap of the fill valve (usually by pushing down and twisting counterclockwise), place a cup over the open valve, and turn the water supply on slightly to flush out any trapped sediment.
- Water Level Fluctuates: Ensure the adjustment rod is locked tightly. If you have an older style valve, the float ball might have a tiny leak, causing it to fill with water and sink. If you need help diagnosing specialized European valves, you can read about how to replace a Siamp toilet inlet valve for model-specific tips.
Frequently Asked Questions About Toilet Inlet Valves
How often should a toilet inlet valve be replaced?
In most homes throughout Harris County and Galveston County, a toilet inlet valve should be replaced every 4 to 5 years. While some high-quality valves can last up to 7 years, the rubber seals and plastic components will eventually degrade due to constant exposure to water and municipal treatment chemicals, leading to silent leaks.
Can I replace just the washer instead of the whole valve?
Yes! If your valve body is in good physical shape but the toilet won’t stop running or is making a hissing noise, you can often save money by replacing just the internal diaphragm washer or headseal washer. However, because a brand-new, high-quality universal fill valve is highly affordable, replacing the entire unit is often the most reliable, long-term solution.
What happens if I overtighten the lock nut?
Overtightening the plastic lock nut or the metal supply line coupling can easily crack the porcelain toilet tank. Porcelain is highly brittle under tension. Always start by hand-tightening the connections, and only use a wrench to snug them up an extra quarter-turn if you detect a minor leak during testing.
Professional Toilet Replacement and Repair Services
While a toilet inlet valve replacement is a practical DIY project for a Saturday morning, plumbing issues can sometimes be more complicated than they look. If you run into a stubborn shutoff valve that won’t budge, find a cracked tank, or simply prefer to have an expert handle the job, The Overall Plumber is here to help.
At The Overall Plumber, we proudly serve homeowners across Brazoria County, Houston, Clear Lake, Santa Fe, League City, Texas City, La Porte, Friendswood, and the surrounding Gulf Coast area. We provide drain cleaning with augers and camera inspections, plumbing protection plans, and repair services backed by a satisfaction guarantee, priority scheduling, no trip charges, and no overtime fees. Whether you need a quick repair or are considering a full upgrade, you can check out our complete guide on toilet replacement costs or explore our professional toilet replacement services to see how we can restore peace and quiet to your bathroom. Need help with your toilet today? Contact The Overall Plumber to schedule service.