


Diagnosing Leaks in Cast Iron, Ductile Iron, and Galvanized Steel
When water starts pooling beneath a stack or dripping down a wall, knowing what kind of pipe you have and how it’s failing is the first step toward a lasting solution. Cast iron, ductile iron, and galvanized steel pipes each age differently, but they share a common enemy: corrosion.
Cast iron pipes have a solid reputation for strength and quiet operation, typically lasting 50 to 100 years under normal conditions. However, when cast iron passes the 50-year mark, internal corrosion—often called channeling or tuberculation—begins to strip away the bottom inside of the pipe. Galvanized steel supply pipes, on the other hand, tend to deteriorate fastest at the threaded joints where the pipe walls are thinnest. Ductile iron pipes, frequently used in larger supply or underground water lines, are exceptionally tough but can still suffer from localized pitting or external soil corrosion.
To evaluate how severe a leak is, you need to look beyond the surface drip. Pinhole leaks often appear as tiny rust bubbles weeping water on pressurized water lines or vertical drain lines. Structural cracks usually stretch horizontally or vertically along cast iron drain stacks, expanding as the metal expands and contracts. Joint failures happen when the original lead-and-oakum or threaded connections degrade, letting water seep around the fittings.
One simple trick we use during preliminary inspections is the tapping test. Take a ball-peen hammer or the handle of a heavy screwdriver and gently tap along the length of the iron pipe near the leak:
- Clear, metallic ring: Indicates sound, solid metal that can support surface patches or repair clamps.
- Dull thud or hollow sound: Signals that internal tuberculation or graphitic corrosion has eaten away the inner pipe wall, making localized patching risky.
| Leak Type | Characteristics | Primary Cause | Recommended Budget Fix |
|---|---|---|---|
| Pinhole Leak | Tiny weeping spot or localized rust bubble | Interior pitting or localized galvanic corrosion | Epoxy putty patch or 2-bolt stainless steel clamp |
| Hairline Crack | Narrow split along the length or fitting | Thermal stress, age, or mechanical strain | Epoxy putty with fiberglass wrap (temporary) or section replacement |
| Joint Leakage | Seepage around threaded or hub connections | Oakum drying, thread decay, or vibration | Mechanical repair clamp or no-hub coupling transition |
| Severe Wall Loss | Flaking metal, dull sound when tapped, deep grooves | Advanced age (>50 years) and chemical erosion | Cut out section or complete repipe |
Identifying Damage and Pipe Deterioration
External symptoms on an iron pipe often tell a story about what is happening on the inside. Surface rust scaling might look like a cosmetic issue, but beneath that flake lies thinned metal. In cast iron and ductile iron lines, graphitic corrosion leaches iron out of the pipe, leaving behind a brittle graphite matrix that retains the shape of the pipe but lacks any structural strength.
In gravity-fed drain stacks, internal waste flows create a acidic environment over decades. If previous owners frequently poured caustic chemical drain cleaners down the drain, those chemicals strip away interior protective coatings and accelerate iron erosion. Over time, hair, grease, and debris catch on the jagged interior rust buildup, causing frequent backups. If you notice slow drains paired with a sewer gas odor in your home, the pipe may have developed a crack along the top or side of the line.
To learn more about diagnosing older plumbing lines, check out our guide on Cast Iron Pipe Repair 101.
Temporary Patching vs Permanent Iron Pipe Leak Repair
When a leak springs unexpectedly, deciding whether to patch or replace comes down to pipe integrity and budget. A localized patch is designed to stop water right now, preventing thousands of dollars in water damage to floors and ceilings. However, a patch does not stop ongoing internal rust.
If a pipe retains at least 75% of its original wall thickness and the metal rings clear when tapped, an emergency repair can buy you valuable time. A properly applied epoxy patch on a non-pressurized drain line can last anywhere from 5 to 10 years, depending on remaining metal thickness and environmental moisture. For pressurized main lines or underground connections, high-quality stainless steel mechanical repair clamps offer a service life ranging from 20 to 50 years.
However, if more than 25% of the pipe wall has thinned due to systemic corrosion, localized patches become short-term band-aids. In those cases, cutting out the failed length or planning a broader line replacement is the safest route to prevent future leaks. For a quick breakdown on managing urgent drips, see our tips on How to Fix a Leaking Pipe Quickly.
Emergency Methods for Iron Pipe Leak Repair
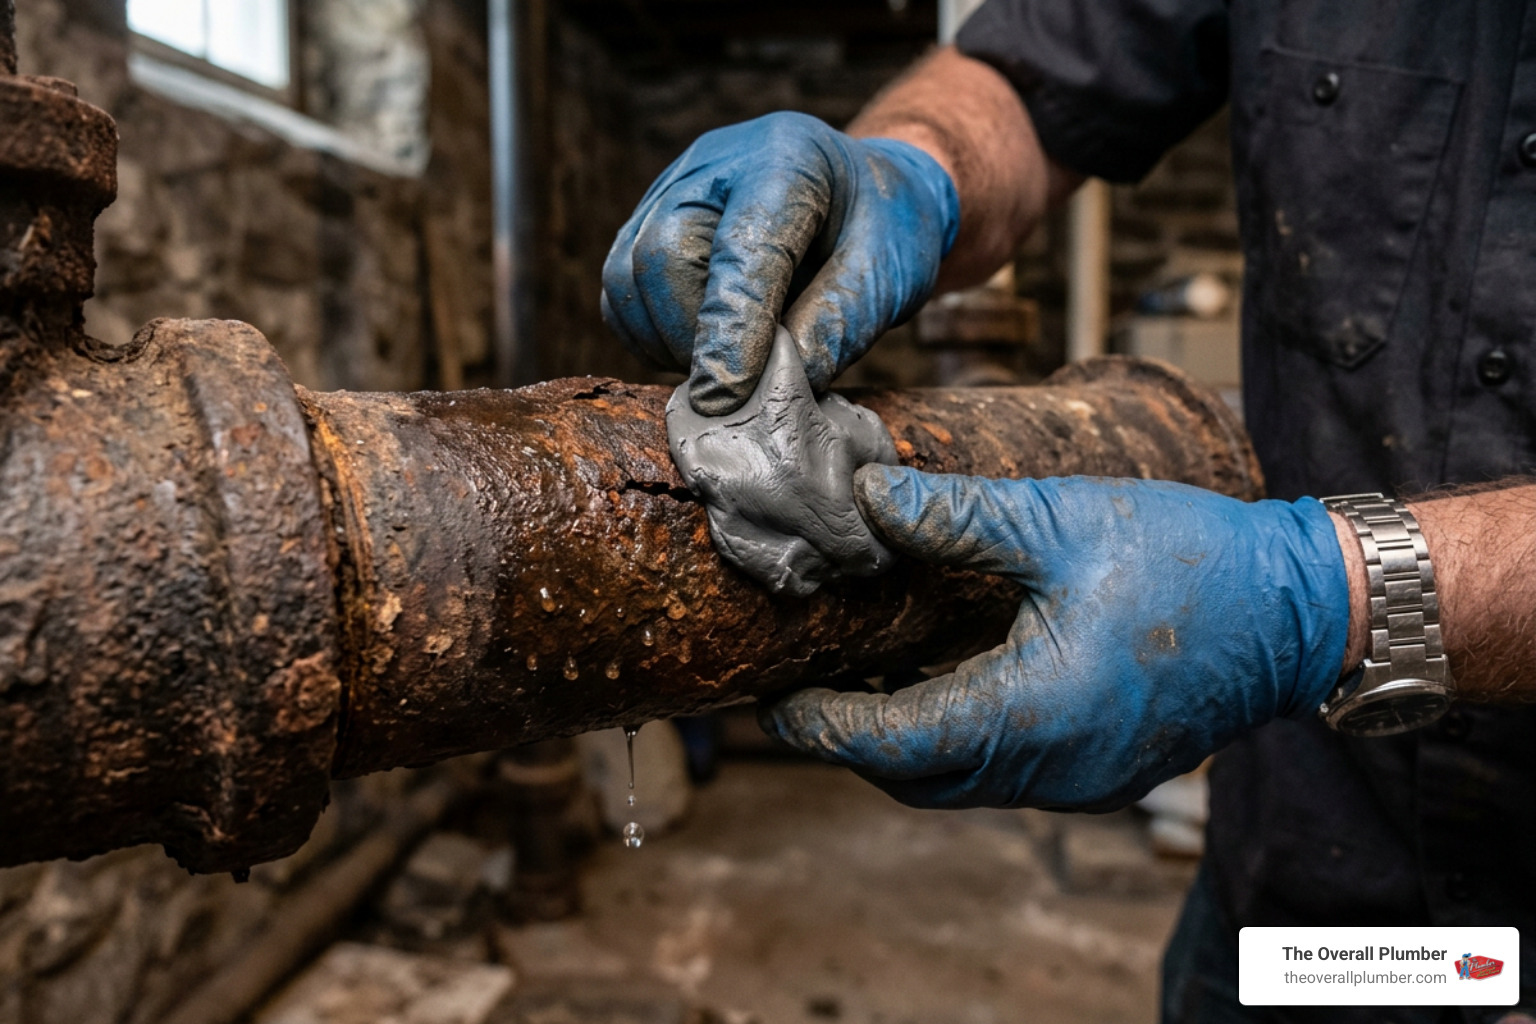
When an active drip threatens your living space, emergency containment is priority number one. You do not always have to cut open walls or dig up yards immediately. Modern cold-repair materials make it possible to stop minor leaks on non-pressurized drains and supply lines quickly.
Applying Two-Part Epoxy Putty and Resin Wraps
Two-part epoxy putty and water-activated fiberglass resin wraps are two of the most popular tools for sealing low-pressure iron pipe leaks. Epoxy putty works like clay: you knead equal parts of resin and hardener until the mixture turns a uniform color, then press it tightly over the leak site.
For an epoxy patch to hold, surface preparation is crucial—in fact, successful epoxy patching is 90% surface prep and 10% application:
- Shut off the water supply and drain the pipe so the repair area is completely dry.
- Scrub the metal down to bare silver iron using a stiff wire brush or drill-mounted wire wheel, removing all rust scaling and paint.
- Wipe the prepped surface clean with acetone or denatured alcohol to remove fine dust and oily residue. Avoid mineral spirits, as they leave a microscopic film that prevents proper bonding.
- Knead the epoxy putty with clean gloved hands until uniform in color.
- Press the putty firmly into the crack or pinhole, feathering the edges at least 1 inch beyond the damaged area.
- Apply a water-activated resin bandage over the epoxy for extra reinforcement. Dip the fiberglass bandage in water for a few seconds, then wrap it tightly around the pipe, overlapping each turn by 50%. Smooth down the wet resin with gloved hands.
Kits like the SylWrap Cast Iron Pipe Repair Kit cure into a rock-hard layer in 30 to 45 minutes, with full cure achieved in 24 hours. Once cured, water-activated resin wraps can resist temperatures up to 200°C (390°F) and pressures up to 30 bar (435 psi) under test conditions, providing a service life of 10 to 20 years on sound pipe.
Installing Stainless Steel Repair Clamps
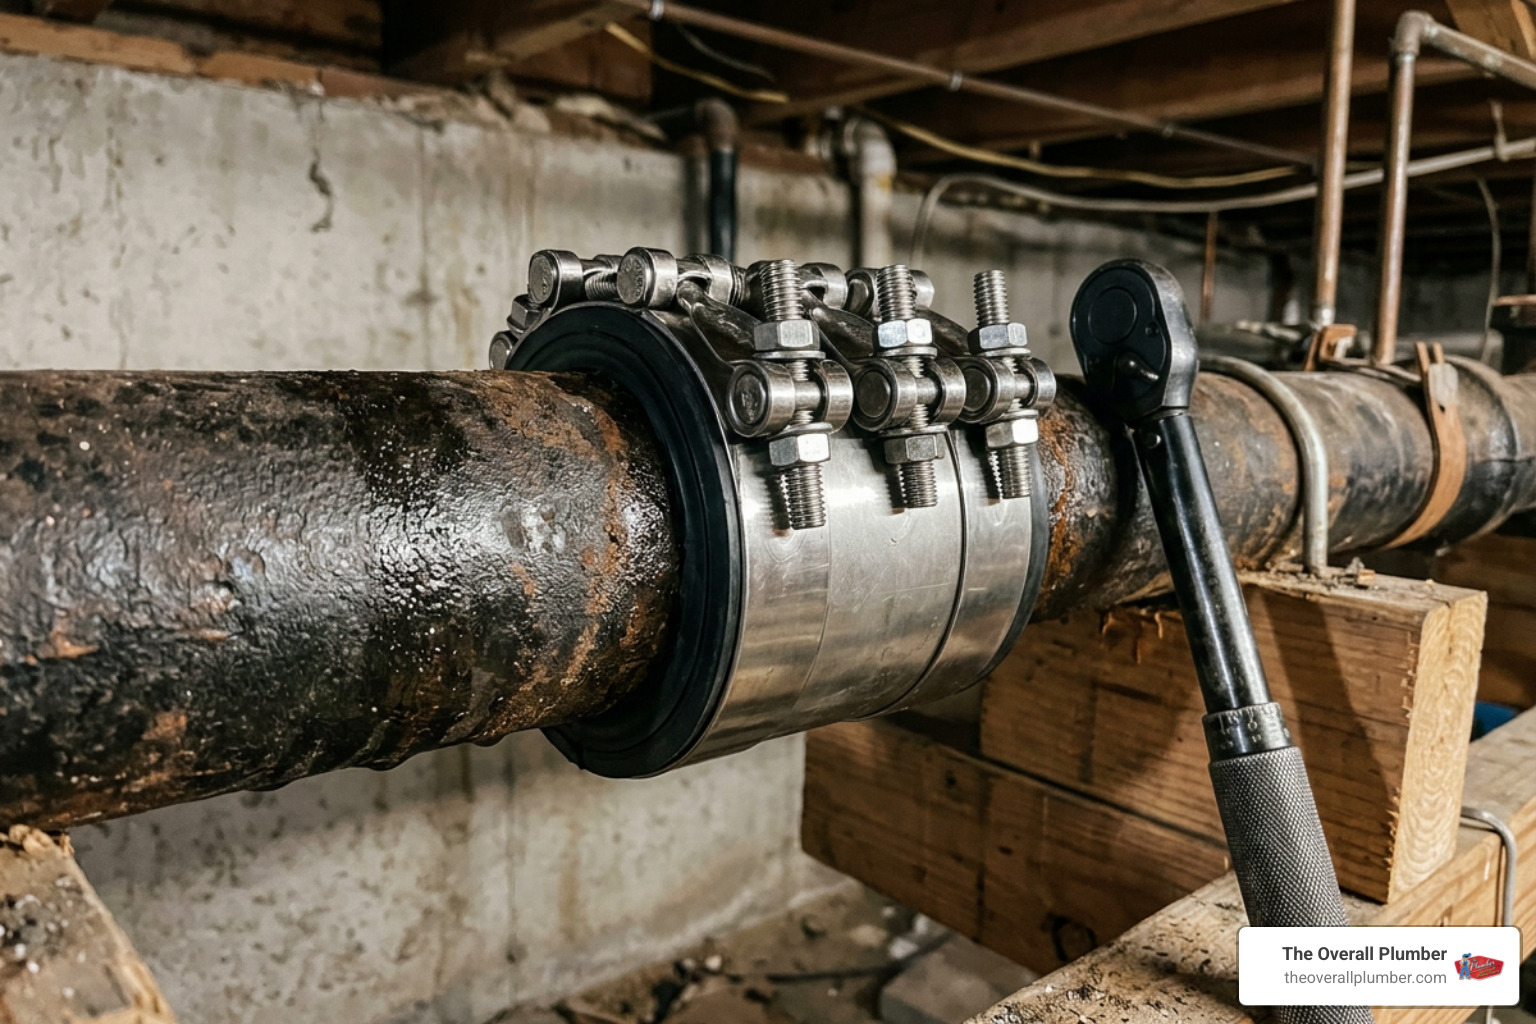
For pressurized water lines or clean pinhole punctures, a mechanical clamp is often faster and cleaner than chemical epoxies. Stainless steel repair clamps feature a thick, heavy-duty NBR or EPDM rubber gasket enclosed in a flexible steel band.
To install a repair clamp safely:
- Select a clamp engineered specifically for Iron Pipe Size (IPS) or ductile iron outside diameters, such as a Stainless Steel IPS Pipe Repair Clamp.
- Clean loose scale off the pipe exterior so the rubber gasket sits flush against the metal.
- Coat the rubber gasket face with non-toxic pipe lubricant or mild soapy water. This keeps the rubber from bunching or tearing as you tighten the clamp over rough surfaces.
- Center the clamp over the leak, ensuring at least 2 to 3 inches of gasket coverage on either side of the hole.
- Tighten the carriage bolts evenly in an alternating pattern using a torque wrench. On ductile iron mains, standard bolts are torqued between 70 and 90 ft-lbs; on smaller residential supply lines, hand-tightening until the rubber evenly compresses without extruding is sufficient.
How to Cut and Replace Damaged Iron Pipe Sections
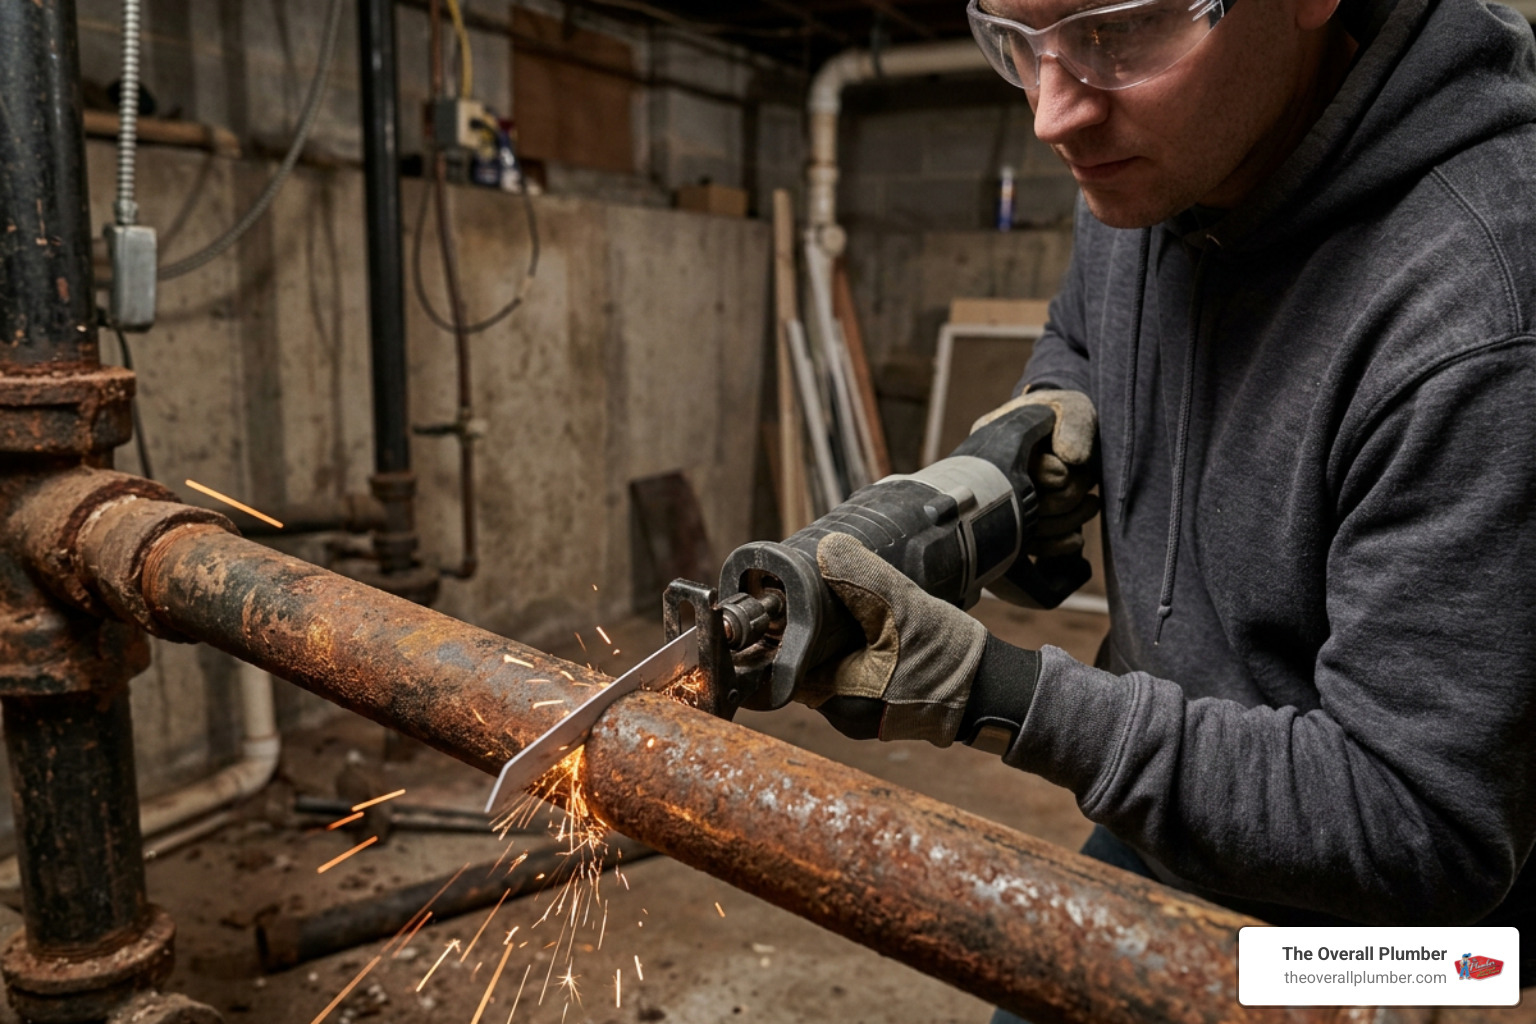
When an iron pipe is split longitudinally or suffers from extensive corrosion, patching won’t hold. The definitive budget-friendly repair is cutting out the damaged segment and bridging the gap with modern materials like Schedule 40 PVC, copper, or PEX.
Essential Materials for DIY Iron Pipe Leak Repair
Cutting through cast iron or galvanized steel requires the right tools and safety gear. Cast iron is extremely heavy and brittle, while galvanized steel is tough and stubborn.
Before starting a cut, gather these core tools and supplies:
- Reciprocating saw with carbide-tipped blades: Bi-metal blades strip their teeth within seconds on cast iron; diamond-grit or specialized carbide blades cut through thick metal cleanly without creating excessive vibration.
- Riser clamps or friction straps: Vertical cast iron stacks are exceptionally heavy. Always secure the upper pipe stack with a riser clamp anchored to nearby floor joists before making any cuts, or the upper pipe section could slide down and cause serious injury.
- Personal Protective Equipment (PPE): Safety goggles, ear protection, cut-resistant gloves, and a dust mask to guard against airborne iron dust and rust particles.
- Deburring tool or metal file: Essential for smoothing sharp edges on cut pipe ends.
If you are evaluating project scope and replacement materials, read our detailed breakdown on Whole House Repipe Costs.
Joining Iron Pipe to PVC, Copper, or PEX
Once the corroded section is removed, you must bridge the gap safely. Because iron pipe outside diameters differ slightly from modern PVC, copper, or PEX, proper transition fittings are mandatory.

- Measure and Cut the Replacement Piece: Measure the gap between the existing iron pipe ends and cut your replacement pipe (usually Schedule 40 PVC) roughly 1/4 inch shorter than the gap to allow easy installation.
- Deburr All Edges: File down any rough metal burrs on the cut iron pipe and smooth the interior and exterior edges of the PVC segment.
- Use Shielded No-Hub Couplings: For cast iron to PVC transitions, skip plain unshielded rubber Fernco sleeves. Instead, use shielded no-hub couplings (heavy-duty rubber gaskets wrapped in a corrugated stainless steel shield). The steel band prevents the connection from sagging or shifting over time.
- Prevent Galvanic Corrosion on Supply Lines: If you are connecting a galvanized steel water pipe to copper or PEX, never screw copper directly into steel threads. Dissimilar metals in contact with water create an electrical reaction that rapidly destroys the steel threads. Always install a dielectric union or a brass fitting transition to isolate the two metals.
- Torque Bands in Sequence: Slide the rubber sleeves over the pipe ends, position the replacement pipe, slip the stainless steel shields into place, and tighten the worm-drive clamps using a torque wrench calibrated to 60 inch-pounds in an alternating sequence.
A permanent section replacement utilizing dielectric unions and proper couplings can easily last 20 years or more on home water lines.
Welding Risks vs. Mechanical Seals for Iron Plumbing
A common question we hear from homeowners with shop tools is whether they can simply stick-weld or MIG-weld a leaking hole in a cast iron or ductile iron pipe. While welding steel is straightforward, welding iron pipes in the field is filled with metallurgical risks.
Metallurgical Risks of Field Welding
Cast iron and ductile iron contain high amounts of carbon. In ductile iron, this carbon takes the form of spherical, nodular graphite, giving the pipe impressive strength and flexibility. When you introduce the intense heat of an arc welder to an existing cold pipe:
- The rapid heating and cooling cycle transforms the ductile graphite matrix into martensite—an extremely hard, brittle crystalline structure.
- The heat-affected zone (HAZ) surrounding the weld becomes susceptible to thermal shock cracks and hydrogen cracking.
- Minute stress fractures often develop as soon as the pipe cools down, causing the pipe to fail right next to the new weld.
For field technicians looking for detailed engineering specs on managing ductile lines safely, consult the official Kubota Ductile Iron Pipe Repair Guide.
Mechanical Clamping Solutions
Because thermal welding compromises the structural integrity of iron, cold mechanical solutions are universally preferred by professional plumbers and municipal utilities alike.
Mechanical full-circle repair clamps and split sleeves preserve the original metallurgical properties of the pipe. They allow for cold installation under live line conditions without heating the metal. After clamping a pressurized line, technicians run a hydrostatic pressure test (typically at 150% of operating pressure) to ensure zero seepage. To protect external hardware from aggressive soil conditions in outdoor or crawlspace digs, wrap the finished clamp in an 8-mil polyethylene sleeve or petrolatum wax tape system.
Frequently Asked Questions About Iron Pipe Repairs
How long does an epoxy patch last on a cast iron pipe?
On a non-pressurized gravity drain line, a properly prepared two-part epoxy patch can last between 5 and 10 years. However, longevity depends almost entirely on how thoroughly you cleaned rust down to bare metal before applying the putty, and whether internal corrosion continues to thin the surrounding pipe wall.
Why is welding discouraged on cast iron and ductile iron pipes?
Welding is discouraged because the intense localized heat alters the carbon microstructure of the metal, creating brittle martensite in the heat-affected zone. This brittleness causes microscopic stress cracks during cooling, which usually results in catastrophic failure under normal water pressure or thermal expansion. Cold mechanical repair clamps are far safer and longer-lasting.
Can SharkBite fittings be installed on galvanized iron pipes?
No, standard SharkBite push-to-connect fittings are not compatible with galvanized iron pipe. Galvanized steel has a rough, uneven zinc surface layer and non-standard outside tolerances that prevent the fitting’s internal O-ring from creating a watertight seal. To connect galvanized pipe to PEX or copper, use threaded iron adapters or dielectric unions.
Sustainable Pipe Maintenance and Professional Support
Taking care of your iron pipes goes beyond stopping an immediate drip. Simple preventative habits can add decades to the life of your plumbing system:
- Avoid Caustic Chemical Cleaners: Never pour harsh acid or lye-based drain openers down cast iron or galvanized drains. These products create exothermic reactions and acidic environments that strip away iron coatings. Use natural enzymatic drain cleaners or baking soda and vinegar flushes instead.
- Schedule Video Camera Inspections: A fiber-optic drain camera inspection lets us look deep inside your lines to catch bottom channeling, tree root intrusion, and scale buildup before a burst occurs.
- Be Cautious with Hydro-Jetting: While high-pressure hydro-jetting clears grease and roots, using excessive pressure on heavily aged, thinned cast iron can blow holes through weak pipe walls.
When DIY fixes reach their limits—or when you want absolute peace of mind—The Overall Plumber is here to help. Serving homeowners across Brazoria County, Houston, Clear Lake, Santa Fe, League City, Texas City, La Porte, Friendswood, Pearland, Pasadena, Galveston, Harris County, Galveston County, and the surrounding Texas Gulf Coast communities, we bring decades of hands-on expertise to every job.
Whether you need diagnostic camera work, section replacements, or full repiping, The Overall Plumber backs its work with satisfaction guarantees, priority scheduling, and no overtime fees or trip charges.
Got a leaking iron pipe or need an expert inspection? Explore our options for Broken Pipe Repair or contact The Overall Plumber to schedule your service.