


Identifying Leaks and Causes in Cast Pipe Repair
Understanding why cast iron pipes fail is the first step toward choosing the right repair strategy. While cast iron was the gold standard for residential plumbing for decades, its lifetime is not infinite. Most homes in Houston, Pearland, and surrounding coastal Texas communities built before the late 1970s still rely on original cast iron soil lines. Over time, constant exposure to wastewater, household chemicals, and moisture creates severe internal corrosion.
As cast iron corrodes, it undergoes a process called tuberculation, where rust builds up on the pipe’s interior walls. This internal rust creates a rough surface that snags toilet paper and debris, leading to frequent line backups. Eventually, the metal wears paper-thin, leading to pinhole leaks, hairline cracks, or complete bottom-of-the-pipe channel rotting.

Spotting a leak early can save you thousands of dollars in water damage and structural repairs. Common warning signs of cast iron degradation include:
- Sewer Gas Odors: Foul smells inside your home or near exterior walls indicate sewer gas escaping through open cracks in waste lines.
- Unexplained Mold and Mildew: Persistent humidity or mold growth along lower walls or ceilings where drain stacks run inside the structure.
- Persistent Clogs and Slow Draining: Frequent backups caused by internal pipe roughing catching solid waste.
- Lush Spots in the Lawn: Extra green, rapidly growing patches of grass over buried sewer main lines caused by escaping nutrient-rich wastewater.
- Foundation Cracks and Soil Erosion: Water escaping beneath a slab foundation can erode supporting soil, causing structural shifting.
To confirm a subtle leak on exposed basement or crawlspace lines, clean the dry pipe surface thoroughly and wrap a clean paper towel around the suspect area. If moisture seeps into the paper towel within a few hours, you have an active pinhole leak. For complex regulatory details regarding drain pipe installations, consult local building standards like Cast-Iron Pipe Code Standards. If you are dealing with a sudden water issue elsewhere, check out our guide on fixing a leaking pipe quickly.
Temporary vs. Permanent Repair Options
When facing a cracked or leaking cast iron waste line, deciding whether to perform a quick localized patch or undertake a complete structural repair comes down to line accessibility, pressure requirements, and overall pipe integrity.
Because domestic drain, waste, and vent (DWV) systems operate on gravity rather than continuous hydrostatic pressure, surface patches can successfully hold back leaks temporarily. However, if the cast iron is structurally unsound or crumbling, surface patches will only delay an inevitable replacement.
| Repair Method | Lifespan | Typical Cost | Best Used For | Key Limitations |
|---|---|---|---|---|
| Epoxy Putty Patch | 1 to 3 Years | Low ($) | Hairline cracks on dry, exposed pipes | Non-structural; requires thorough surface cleaning |
| Water-Activated Wrap | 10 to 20 Years | Moderate ($$) | Longitudinal cracks on accessible straight runs | Cannot fix severely collapsed or underground pipes |
| Rubber Coupling Swap | 20+ Years | Moderate ($$) | Localized broken sections or localized heavy corrosion | Requires cutting out bad pipe sections safely |
| Trenchless Pipe Lining | 50+ Years | Premium ($$$) | Corroded underground lines under slabs or lawns | Requires specialized professional equipment |
Epoxy Putty and Resin Wraps for Cast Pipe Repair
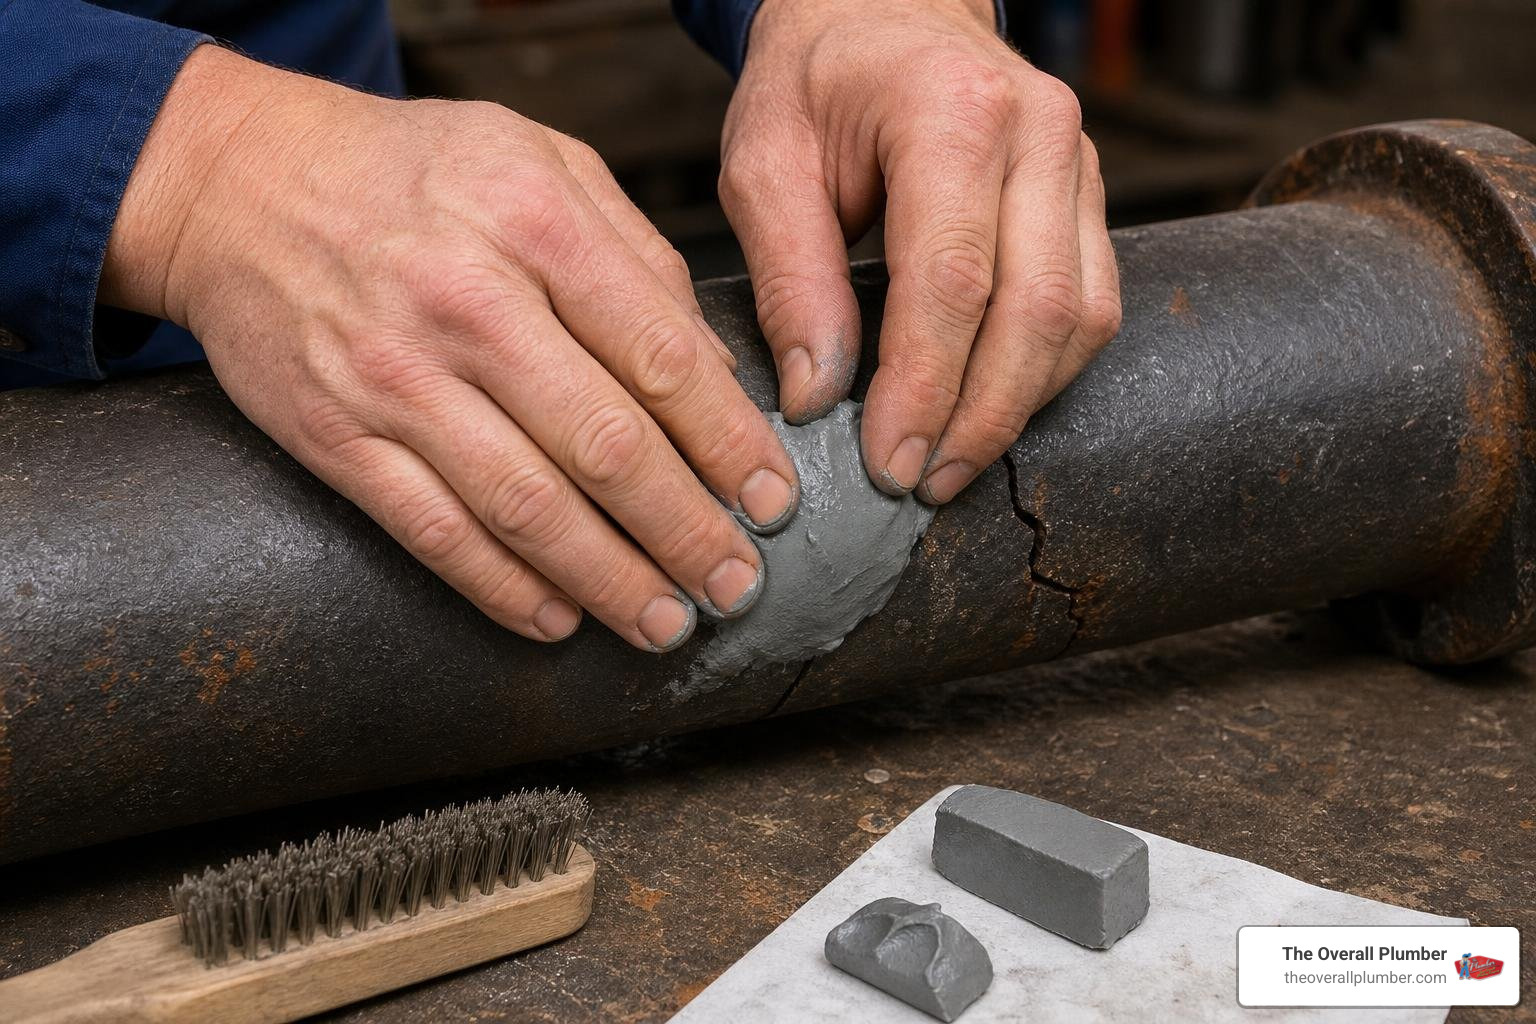
For a fast, temporary fix on non-pressurized gravity drain lines, two-part epoxy putty combined with specialized moisture-curing sealants or resin wraps can be surprisingly effective. Epoxy putty hardens in 5 to 10 minutes to form a solid, watertight barrier over hairline cracks and small pinholes.
Proper Surface Preparation Steps
- Shut Off Water Flow: Stop running water through the line and let the pipe drain completely.
- Clean to Bare Metal: Use a wire brush, heavy-grit emery cloth, or angle grinder with a wire wheel to strip away surface rust, paint, and loose flaking iron. Epoxy will not stick to rust.
- Degrease the Area: Clean the bare metal surface with a non-flammable degreaser or rubbing alcohol to remove grease and grime.
- Dry Thoroughly: Moisture prevents proper epoxy adhesion. Use a clean rag or heat gun to gently warm and dry the pipe exterior.
For larger longitudinal cracks up to several feet long, complete repair kits (such as SylWrap systems) combine a moisture-curing silicone sealant with a water-activated composite fiberglass bandage.
After pushing the sealant into the crack, the fiberglass wrap is submerged in water for a few seconds, tightly wrapped around the pipe with a 50% overlap, and smoothed down. Once fully cured in 30 to 45 minutes, these composite wraps offer an impressive cured material life of 10 to 20 years, resisting temperatures up to 200ºC (390ºF) and internal pressures up to 30 bar. For more details on commercial kits, read through SylWrap Cracked Cast Iron Pipe Repair Kit.
Using Rubber Couplings vs. Trenchless Pipe Lining
While surface wraps work well on accessible horizontal runs, two major modern solutions dominate permanent cast pipe repair: elastomeric rubber couplings (often called Fernco boots) and CIPP (Cured-In-Place Pipe) trenchless lining.

Flexible rubber couplings featuring stainless steel tension bands allow plumbers and experienced DIYers to slice out a damaged section of old cast iron and splice in clean, durable Schedule 40 PVC pipe. These mechanical couplings absorb natural house settling and thermal expansion while providing a liquid-tight transition between dissimilar materials.
On the other hand, when cast iron pipes run underneath concrete slab foundations, driveways, or mature oak trees, digging up trenches to replace them creates massive destruction and property repair costs. That is where CIPP trenchless pipe lining shines.
During trenchless lining, a flexible resin-saturated felt tube is inserted into the cleaned cast iron pipe via an existing cleanout access point. Once positioned, the liner is inflated with compressed air or hot water, pressing the epoxy against the interior pipe wall. Within a few hours, the resin cures rock-hard, creating a seamless, jointless “pipe within a pipe” that carries a lifespan of 50 years or more without destroying your flooring or landscape.
If you are evaluating options for exterior downpipes, read our article on how to save your cast iron downpipe without losing your mind.
Step-by-Step Guide: Replacing Damaged Cast Iron with PVC
Replacing a severely cracked or damaged section of above-ground cast iron drain pipe with modern PVC is one of the most reliable permanent repairs you can perform. Below is a detailed walkthrough to complete this job safely.
Preparing Safety Gear and Cutting Damaged Pipe Sections

Old cast iron is exceptionally heavy, brittle, and hazardous to cut. Airborne metal dust, rust, and silica generated during cutting require strict personal safety measures.
Essential Tools and Safety Gear Needed
- Safety Protection: ANSI Z87.1 impact-rated face shield, NIOSH-approved N95 or P100 respirator dust mask, and heavy cut-resistant gloves.
- Cutting Equipment: Reciprocating saw with diamond-grit or carbide-tipped cast iron blades, or an angle grinder fitted with a diamond cutoff wheel.
- Pipe Support: Heavy-duty riser clamps, wooden bracing, or plumber’s tape to support vertical pipe weight.
- Hand Tools: Flathead screwdriver or nut driver, metal hand file, torpedo level, tape measure, and soapstone marker.
Step 1: Secure and Support Vertical Weight
Cast iron soil stacks weigh roughly 10 to 15 pounds per linear foot. Before making any cuts on vertical pipes, install heavy-duty riser clamps anchored securely to surrounding framing studs or floor joists directly above your cut line. If you fail to support the vertical stack, hundreds of pounds of iron can collapse downward when cut, causing fatal injury or catastrophic plumbing destruction.
Step 2: Mark and Cut the Section
Measure the damaged area and mark your cut lines perpendicular to the pipe using soapstone or a permanent marker.
While manual chain snap cutters are quick, they risk crushing fragile, heavily rusted old iron rather than making a clean break. Instead, use a reciprocating saw equipped with a carbide-tipped blade specially designed for thick cast iron. Keep steady pressure, cool the blade periodically, and make straight cuts completely through the pipe.
Remove burrs from both cut iron ends using a coarse round metal file to ensure a smooth transition. Learn more about traditional cutting techniques at How to Cut a Cast Iron Pipe Guide.
Splicing New PVC Sections into Cast Iron Lines
Step 3: Measure and Cut Replacement PVC
Measure the gap between the two remaining cast iron cut ends. Cut a matching length of Schedule 40 PVC pipe, subtracting approximately 1/4 inch to allow clearance for sliding the transition couplings into place. Deburr the internal edges of the newly cut PVC with a utility knife to prevent hair and debris catching inside the drain line.
Step 4: Install Transition Rubber Couplings
Slide a flexible rubber transition coupling (shielded heavy-duty Fernco or Mission couplings are best) over each cut end of the remaining cast iron pipe. Fold back the rubber outer lips temporarily if space is tight.
Step 5: Position the PVC and Tighten Stainless Clamps
Place the new PVC section into the gap, checking alignment and ensuring proper slope (a minimum 1/4-inch drop per foot of horizontal run toward the sewer main). Slide the rubber sleeves back over the PVC ends, position the stainless steel shear bands over the center of the joint, and tighten the worm-drive hose clamps securely using a 5/16-inch nut driver or torque wrench to approximately 60 in-lbs.
Step 6: Test for Leaks
Run fixtures connected to the drain line above the repair for several minutes while inspecting both transition boots with a dry paper towel to verify a leak-free installation. For a broader step-by-step repair overview, check out our article on fixing a broken pipe in 7 easy steps.
When to Hire a Professional Plumber for Cast Pipe Repair
While localized DIY repairs on exposed basement or attic lines are manageable for experienced handy homeowners, certain scenarios pose immense risk and strictly require master plumbing expertise:
- Pipes Buried Beneath Concrete Slab Foundations: Slab leak repair requires high-resolution sewer camera locator equipment, specialized jackhammering, or non-invasive trenchless lining technology.
- Main Sewer Stack Load-Bearing Replacement: Vertical stack replacements across multi-story homes require professional rigging, structural engineering considerations, and official municipal permits.
- Widespread Structural Collapse or Channel Inversion: When the bottom channel of an underground line has completely rotted away, simple patching will fail immediately.
- Code Compliance Issues: Manufacturing standards like ASTM A 888 and local building codes strictly mandate how transition fittings and structural replacements must be executed. You can review official manufacturer rehabilitation policies via Rehabilitation of Cast Iron Soil Pipe & Fittings.
At The Overall Plumber, our licensed teams provide high-definition CCTV sewer camera inspections to assess the true internal condition of your cast iron lines without unneeded digging.
Frequently Asked Questions
Can you repair a cracked cast iron pipe without replacing it?
Yes, non-pressurized gravity drain lines with localized hairline cracks can often be repaired without immediate section replacement. Thoroughly cleaning rust down to bare metal and applying a high-grade two-part epoxy putty, reinforced with a water-activated resin fiberglass wrap, can seal leaks effectively for 10 to 20 years. However, if the pipe wall is crumbling, deeply pitted, or missing its bottom channel beneath a concrete slab, trenchless CIPP pipe lining or complete pipe replacement is necessary.
What is the best tool to cut cast iron pipe in tight spaces?
In tight clearance areas like wall cavities or narrow ceiling joists, a compact reciprocating saw equipped with a diamond-grit or specialty carbide-tipped cast iron blade (such as Lenox Diamond or Milwaukee Torch Carbide) is the safest and most efficient tool. In ultra-tight quarter spaces where a reciprocating saw body cannot fit, a small angle grinder fitted with a 4.5-inch diamond cut-off wheel works well, provided proper eye protection and N95 dust masks are worn to protect against metal debris.
How do you seal cracks on the underside of a pipe or Y-branch fitting?
Repairing leaks on the underside of pipes or contoured fittings like Y-branches (wyes) and sanitary tees is challenging because surface gravity pulls fluid down into the crack. First, dry the area completely using a rag and a heat gun. Next, press hand-kneaded two-part plumber’s epoxy putty firmly directly into the crack, working it deep into the gap with your fingers. Once the putty sets firm (5 to 10 minutes), wrap a flexible elastomeric rubber boot or self-fusing silicone repair tape tightly over the entire branch fitting, securing it firmly with stainless steel hose clamps.
Restoring Your Home’s Cast Iron Plumbing System
If you suspect your home’s aging cast iron pipes are cracking, backed up, or leaking beneath your slab, do not wait for a full system failure. Our experienced team at The Overall Plumber offers comprehensive camera drain inspections, priority scheduling, transparent upfront pricing with no overtime fees, and full satisfaction guarantees across Greater Houston, Pearland, Clear Lake, Galveston, and surrounding communities.
For reliable guidance and structural repairs, learn more about our complete range of services at our Broken Pipe Repair resource center or contact us directly at (281) 555-0199 to schedule your service.