


Easy to Follow Guide to Drain a Water Heater Safely
Why a Clogged, Inefficient Water Heater Could Be Costing You More Than You Think
Drain hot water tank units at least once a year — here’s the quick version of how to do it safely:
- Turn off the power or gas to your water heater.
- Let the water cool for several hours to avoid scalding.
- Connect a garden hose to the drain valve at the bottom of the tank.
- Open a hot water faucet somewhere in the house to break the vacuum.
- Open the drain valve and let the tank empty completely.
- Flush the tank by briefly turning the cold water supply back on until the water runs clear.
- Close the drain valve, refill the tank, and restore power or gas only after the tank is completely full.
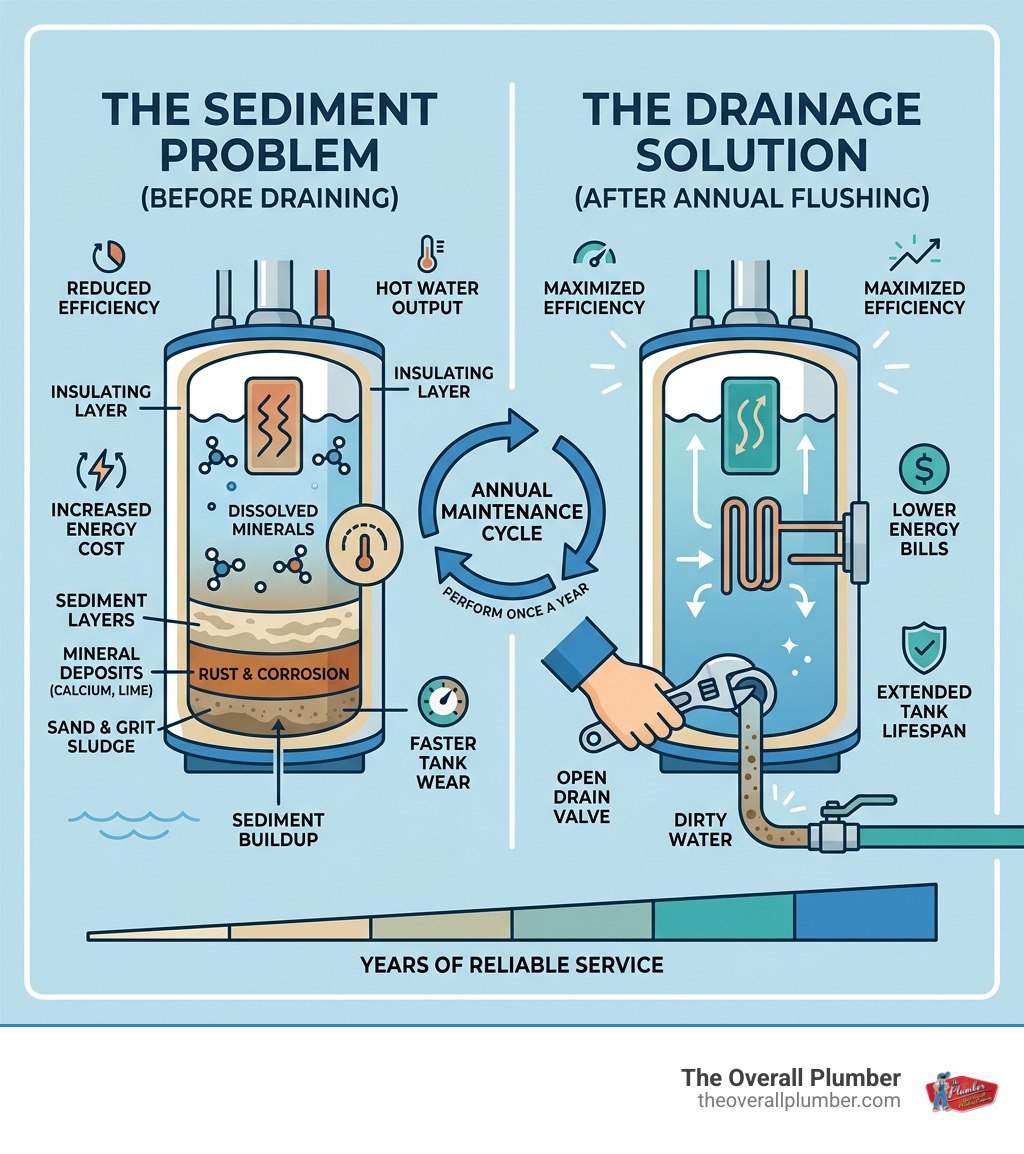
Your water heater is probably the hardest-working appliance in your home — and also the most ignored. Over time, minerals like calcium, lime, and magnesium settle at the bottom of the tank. That layer of sediment acts as an insulator between the heating element and the water. The result? Your heater works harder, uses more energy, and wears out faster. In severe cases, sediment buildup can cause corrosion, leaks, or complete tank failure — and replacing a water heater can cost up to $1,500 before installation. Routine draining is one of the simplest ways to avoid that.
I’m Dayton Whitworth, a second-generation plumber serving Greater Brazoria County, Galveston County, Houston, and the surrounding Gulf Coast, and I’ve seen how neglecting to drain hot water tank units leads to costly emergency calls that could have been prevented with basic annual maintenance. In this guide, I’ll walk you through everything you need to know to do this job safely and correctly.
Why You Must Drain Hot Water Tank Units Regularly
When we talk about the importance of flushing and cleaning hot water tanks, we aren’t just looking for something to do on a Saturday afternoon. Your water heater acts as a primary reservoir for your home. Over the years, thousands of gallons of water pass through it, leaving behind “hitchhikers” like sand, rust particles, clay, and minerals.
In our service areas—from the hard water zones of Pearland and League City to the coastal environments of Galveston—sediment accumulation is a real threat. This buildup creates a thick layer of “sludge” at the bottom of the tank. Here is why that matters:
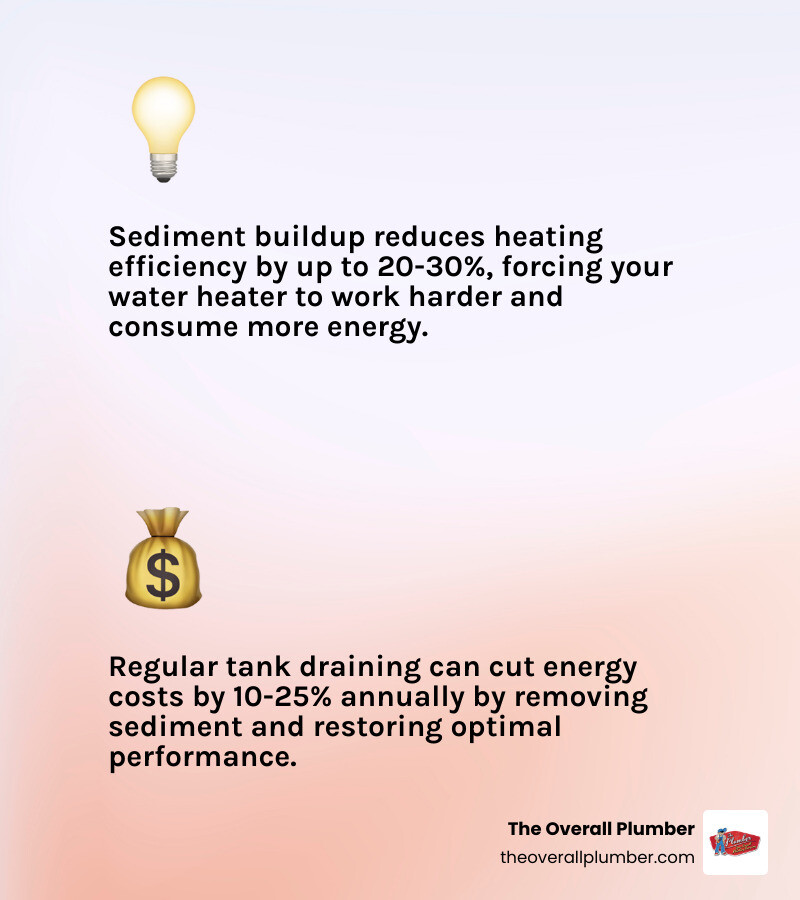
- Heating Efficiency: In an electric heater, sediment can bury the lower heating element. In a gas heater, it creates a barrier between the burner and the water. This forces the unit to run longer to reach the desired temperature, which spikes your utility bills.
- Bacterial Growth: Stagnant sediment can harbor bacteria and lead to foul odors, often described as a “rotten egg” smell.
- Tank Corrosion: Sediment traps moisture against the steel tank lining, accelerating rust. Once the tank floors or walls corrode through, you’re looking at a Hot Water Heater Replacement rather than a simple maintenance task.
- Preventing Leaks: By removing the debris that clogs the drain valve and the Temperature and Pressure (T&P) relief valve, you ensure the safety mechanisms of your tank work when they are needed most.
Regular Water Heater Service & Installation experts agree: a clean tank is an efficient, long-lasting tank.
Essential Tools and Safety Preparations
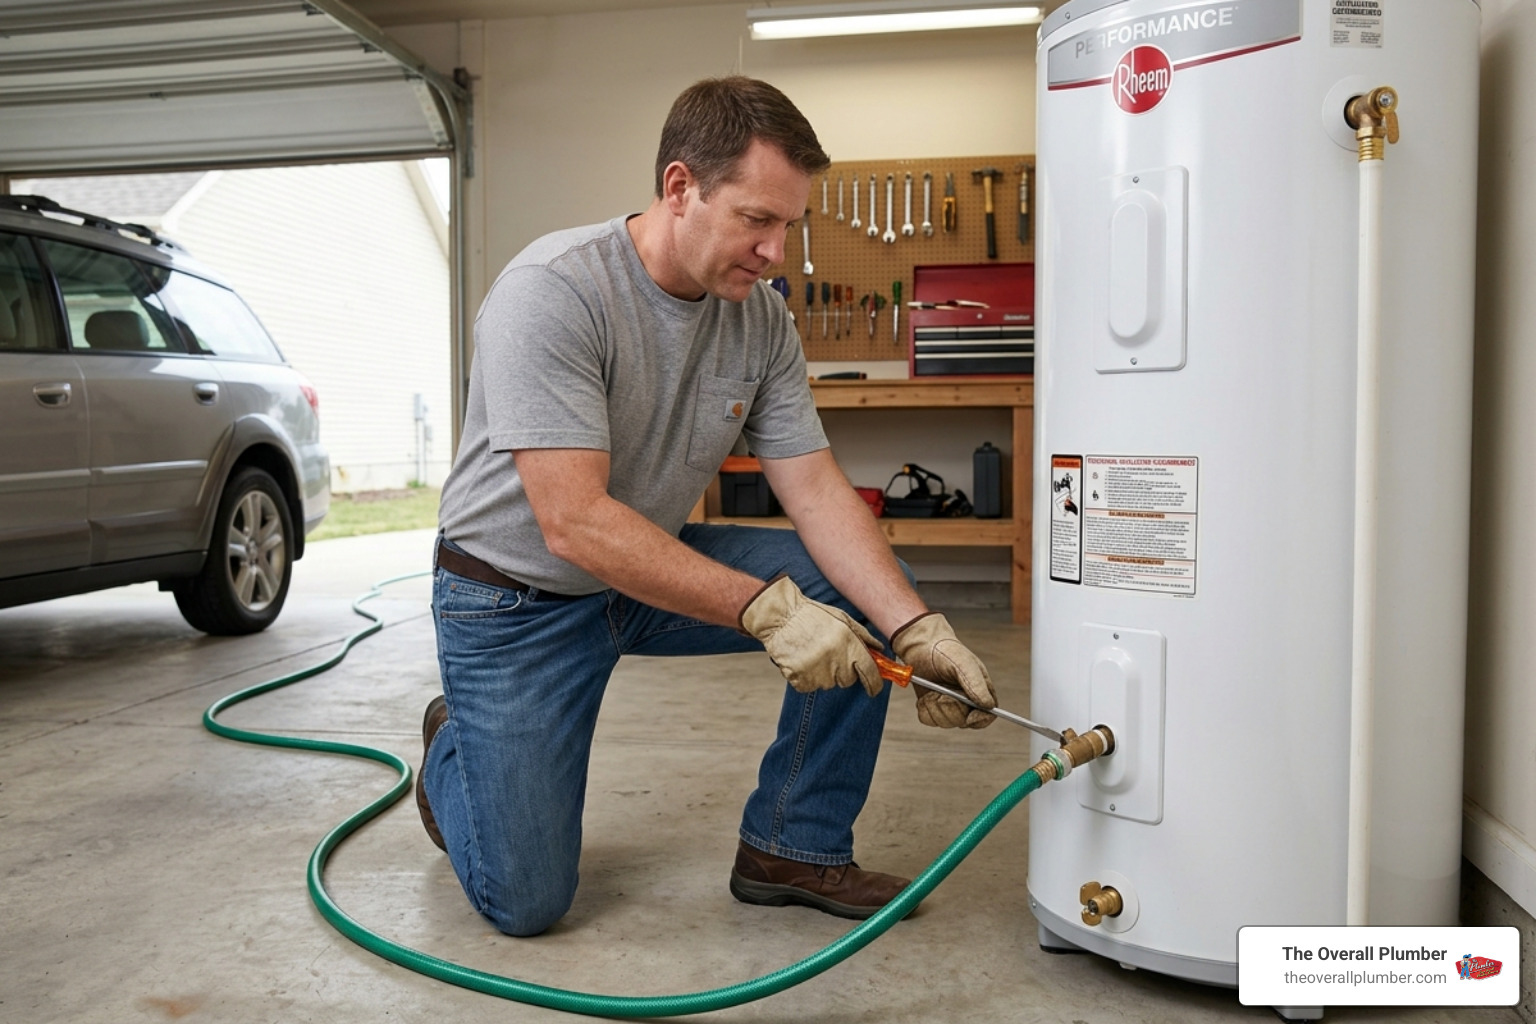
Before you begin to drain hot water tank sediment, you need to gather a few basic supplies. You likely already have most of these in your garage or under the sink.
- Standard Garden Hose: A 10-to-20-foot hose is usually plenty. Make sure the gaskets are in good shape to prevent leaks.
- Flathead Screwdriver: Many drain valves don’t have a handle; they have a small slot that requires a screwdriver to turn.
- Large White Bucket: Using a white bucket for the first few gallons allows you to see exactly how much “junk” is coming out of your tank.
- Work Gloves and Safety Goggles: The water inside can be 140°F—hot enough to cause third-degree burns in seconds.
Safety First: Cooling and Pressure
Safety is our top priority at The Overall Plumber. It is highly recommended to turn off the heat source and let the water sit for at least 3 to 4 hours before draining. If you’re in a hurry, you can take a long, hot shower to pull cold water into the tank, effectively “cooling” it from the inside out.
According to How to Drain a Water Heater, you should also test your T&P relief valve (the one with the little silver lever) to ensure it isn’t stuck. If you trip the lever and nothing happens, or it doesn’t stop dripping afterward, call us immediately—that valve is your only protection against the tank over-pressurizing.
Step-by-Step Instructions to Drain a Water Heater
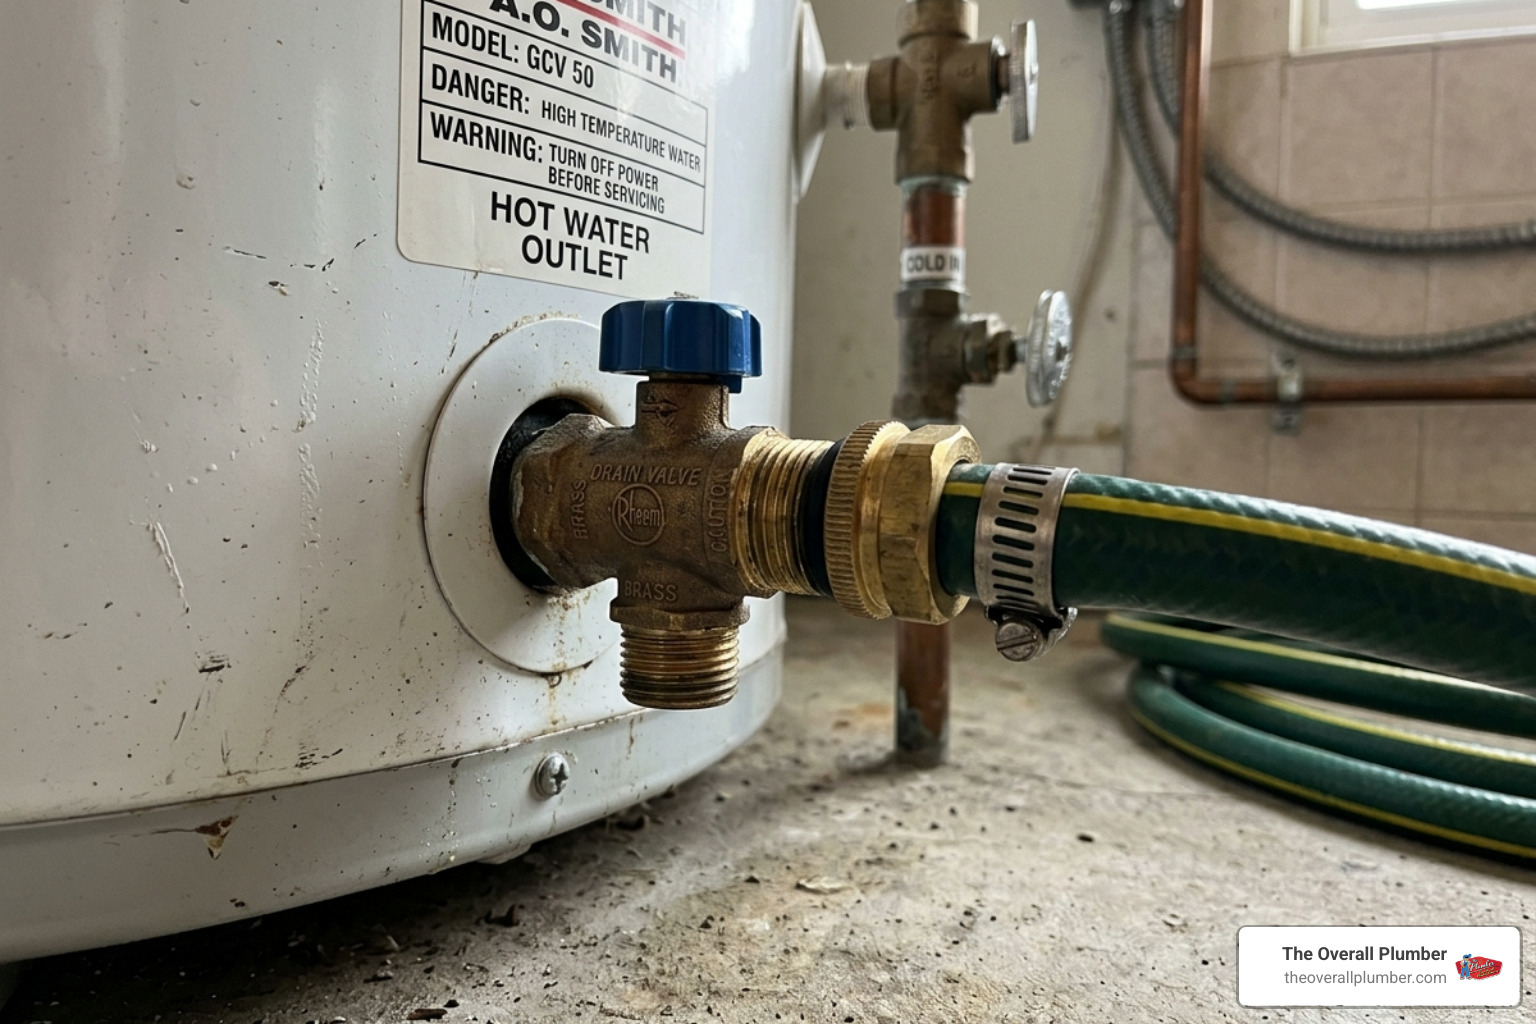
Ready to get started? Follow these general steps for a successful flush. For more detailed visual aids, you can refer to this How to Drain & Flush A Water Heater guide.
- Shut Off the Energy: Whether it’s the breaker or the gas line, the heater must be “dead” before the water level drops.
- Close the Cold Water Supply: Locate the valve on the pipe leading into the top of the tank and turn it off.
- The Vacuum Break: This is a step many DIYers miss. If you don’t let air into the system, the water won’t flow out (think of holding your finger over the top of a straw). Open a hot water faucet in a nearby bathtub or sink to allow air in.
- Connect and Open: Attach your hose to the drain valve at the bottom. Run the other end to a floor drain or outside to your lawn. Open the drain valve slowly.
- The Flush: Once the tank is empty, turn the cold water supply back on in short, 15-second bursts. This “stirs up” the sediment at the bottom so it can be swept out through the hose.
How to drain hot water tank electric models
Electric models require extra caution. If the upper heating element is exposed to air while the power is on, it will “dry-fire” and burn out in seconds. Always ensure the circuit breaker is OFF. For a deep dive into how these elements work, check out The Complete Electric Heater Element Replacement Manual.
How to drain hot water tank gas models
For gas units, you don’t necessarily have to turn the gas completely off and relight the pilot. Most modern valves have a “Pilot” or “Vacation” setting. Switch the dial to one of these to prevent the main burner from kicking on while the tank is empty. If you’re unsure about your specific model, our A Comprehensive Guide to Water Heater Installation covers various gas configurations.
Troubleshooting a Slow or Clogged Drain Valve
Sometimes, you open the valve and… nothing happens. This is common in older tanks where the sediment is so thick it has formed a “plug” at the drain.
- The Wire Trick: If the valve is open but no water is flowing, you can carefully insert a small piece of stiff wire (like a coat hanger) into the valve opening to break up the sediment clog.
- The Backflush Method: This is a pro-level tip. Use a “Y” connector on your hose to force water into the drain valve from another faucet. This pressure can push the sediment back into the tank, breaking the clog and allowing the tank to drain normally.
- Vacuum Lock: If the water glugs or stops, check that your hot water faucet upstairs is still open. You need that air to keep the flow moving.
Dealing with these issues can be messy. If you’re worried about water damage, learning How to Install a Hot Water Expansion Tank Without Making a Mess can give you some insight into managing system pressure.
Frequently Asked Questions about Draining Water Heaters
How often should I drain and flush my tank?
In May 2026, the standard recommendation remains: at least once a year. However, if you live in an area with particularly high mineral content—like parts of Texas City or La Porte—we suggest a “mini-flush” every six months. This involves draining just a few gallons into a bucket to keep the sediment from hardening into a solid mass.
Can I drain the tank without turning off the water?
Yes, this is called a “pressure flush.” By leaving the cold water supply on, the pressure helps push sediment out of the drain valve. This is great for a quick maintenance check but doesn’t remove as much sediment as a full drain-and-flush.
How long does the draining process typically take?
A standard 50-gallon tank usually takes 30 to 60 minutes to drain by gravity. If you include the cooling time and the refilling process, plan for about a 3-to-4-hour project.
Professional Maintenance and System Restart
Once the water from the hose runs crystal clear, it’s time to put everything back together.
- Close the drain valve and remove the hose.
- Turn the cold water supply back on.
- Purge the air: Keep that hot water faucet in the house open. You’ll hear a lot of sputtering and hissing — that’s normal! Wait until you have a steady, strong stream of water for at least a full minute before moving to the next step.
- Restore Power/Gas: Only once the tank is 100% full should you flip the breaker or turn the gas dial back to “On.”
Need help with a stubborn clog, routine 2026 water heater maintenance, or upgrading to Tankless Water Heaters On Sale? Contact The Overall Plumber today or call us at 281-668-8055 to schedule service.