


The Complete Electric Heater Element Replacement Manual
When Your Hot Water Fails: What to Know About Electric Heater Element Replacement
Electric heater element replacement is one of the most common — and most affordable — fixes for a water heater that’s stopped doing its job.
Here’s what you need to know at a glance:
- Cost: DIY replacement runs $10–$60. A professional charges $200–$300.
- Time: Most replacements take 1–2 hours of active work.
- Signs you need it: Cold or lukewarm water, hot water running out fast, or a tripping circuit breaker.
- What it involves: Turning off power, draining the tank, swapping the element, and testing for leaks.
- When to call a pro: If you’re not comfortable working with electrical components.
You’re in the shower. The water goes cold. Not a little cold — ice cold. It’s one of the most frustrating things that can happen at home, and a failing heating element is often the cause.
The good news? A replacement element costs as little as $20–$30, compared to over $500 for a new water heater. In many cases, this is a fixable problem — not a full replacement situation.
This guide walks you through everything: how to diagnose the problem, test the element, drain your tank, and install a new one safely.
I’m Dayton Whitworth, a second-generation plumber serving the Greater Houston and Gulf Coast area, and electric heater element replacement is one of the most common water heater repairs I see homeowners attempt — with the right guidance, many can handle it confidently. Let’s make sure you’re one of them.
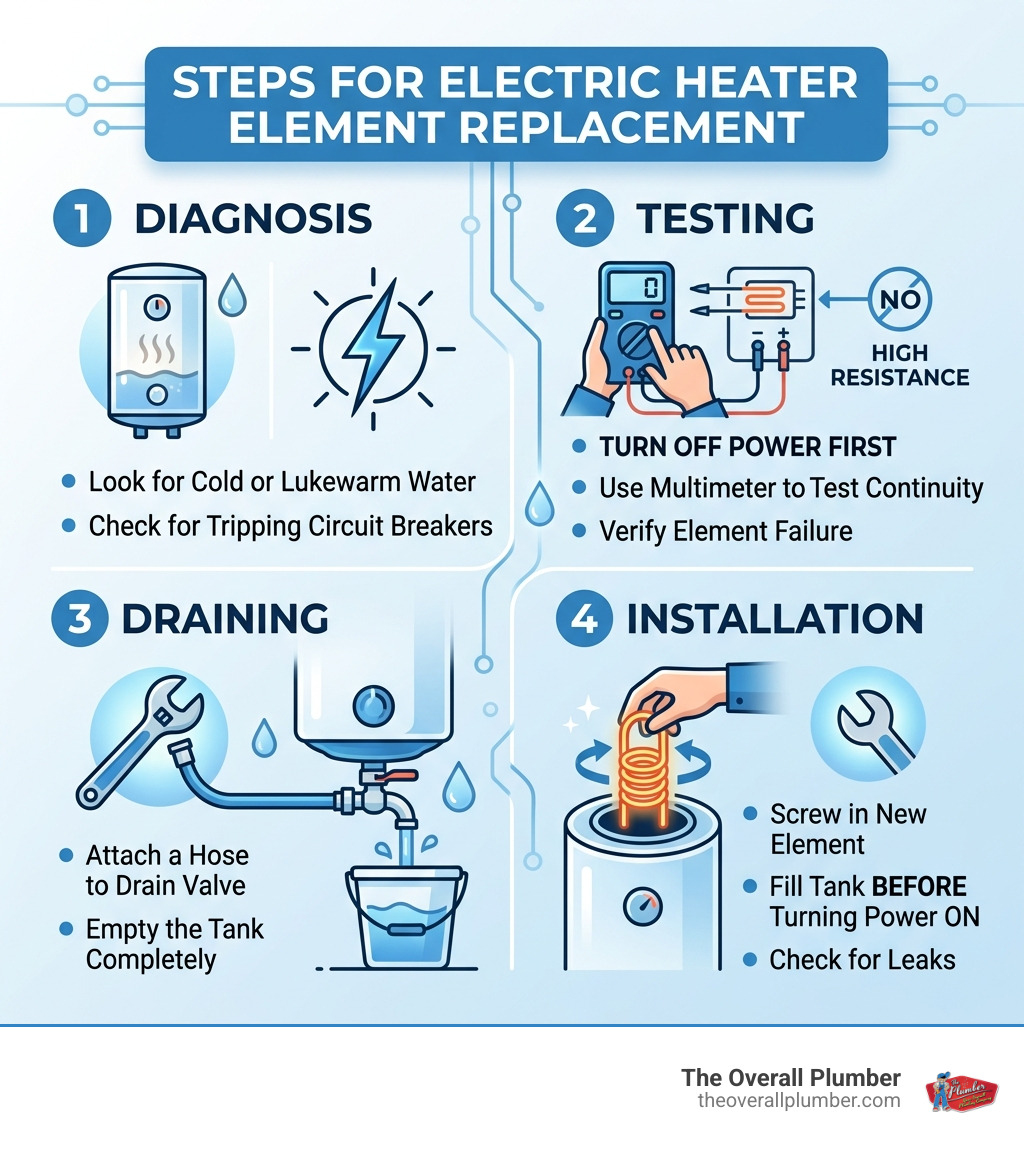
Common Signs That an Electric Heater Element Needs Replacement
In our experience serving homes from League City to Pearland, we’ve found that heating elements don’t always just “quit” all at once. Sometimes they give you a few warning shots first.
- The “Luke-Warm” Shower: If your water is warm but never truly gets hot, your upper element might be failing.
- Running Out of Hot Water Fast: This is a classic symptom of a failed lower element. Since the lower element does the bulk of the “heavy lifting” to maintain tank temperature, its failure means you’re only using the top third of the tank’s capacity.
- The Tripping Breaker: If you flip the switch at your breaker panel and it immediately snaps back to “off,” you likely have a shorted element. This happens when the outer sheath of the element cracks, allowing water to touch the internal energized wire.
- No Hot Water at All: If both elements have failed, or the upper element (which usually fires first) is dead, you’ll be stuck with a cold surprise.
- Strange Noises: A “hissing” or “sizzling” sound coming from the tank often indicates that sediment has buried the lower element, causing it to overheat and eventually burn out.
How to Safely Test an Electric Heater Element with a Multimeter
Before you go out and buy parts, you need to confirm the element is actually the culprit. Testing is the only way to be sure it isn’t a faulty thermostat or a tripped high-limit switch.
Safety First: Power Down
You must turn off the power at the main circuit breaker. Electric water heaters typically run on a double-pole 30-amp or 40-amp breaker. Use a non-contact circuit tester at the heater itself to verify no electricity is flowing before you touch a single wire.
The Continuity Test
To test for electric heater element replacement necessity, set your multimeter to the lowest Ohms (Ω) setting.
- Disconnect the two power wires from the element terminals.
- Place one probe on each screw terminal of the element.
- Interpret the results:
- 3500W Element: Should read 15–16 Ohms.
- 4500W Element: Should read 12–13 Ohms.
- 5500W Element: Should read 10–11 Ohms.
- Infinite/No Reading: The internal wire is broken. The element is “open” and dead.
The Short-to-Ground Test
Even if the resistance looks okay, the element could be shorted. Touch one probe to a terminal screw and the other to the metal base of the element or the tank itself. If the needle moves or the digital display shows any numbers at all, the element is shorted and must be replaced.
Tools and Materials Required for Replacement
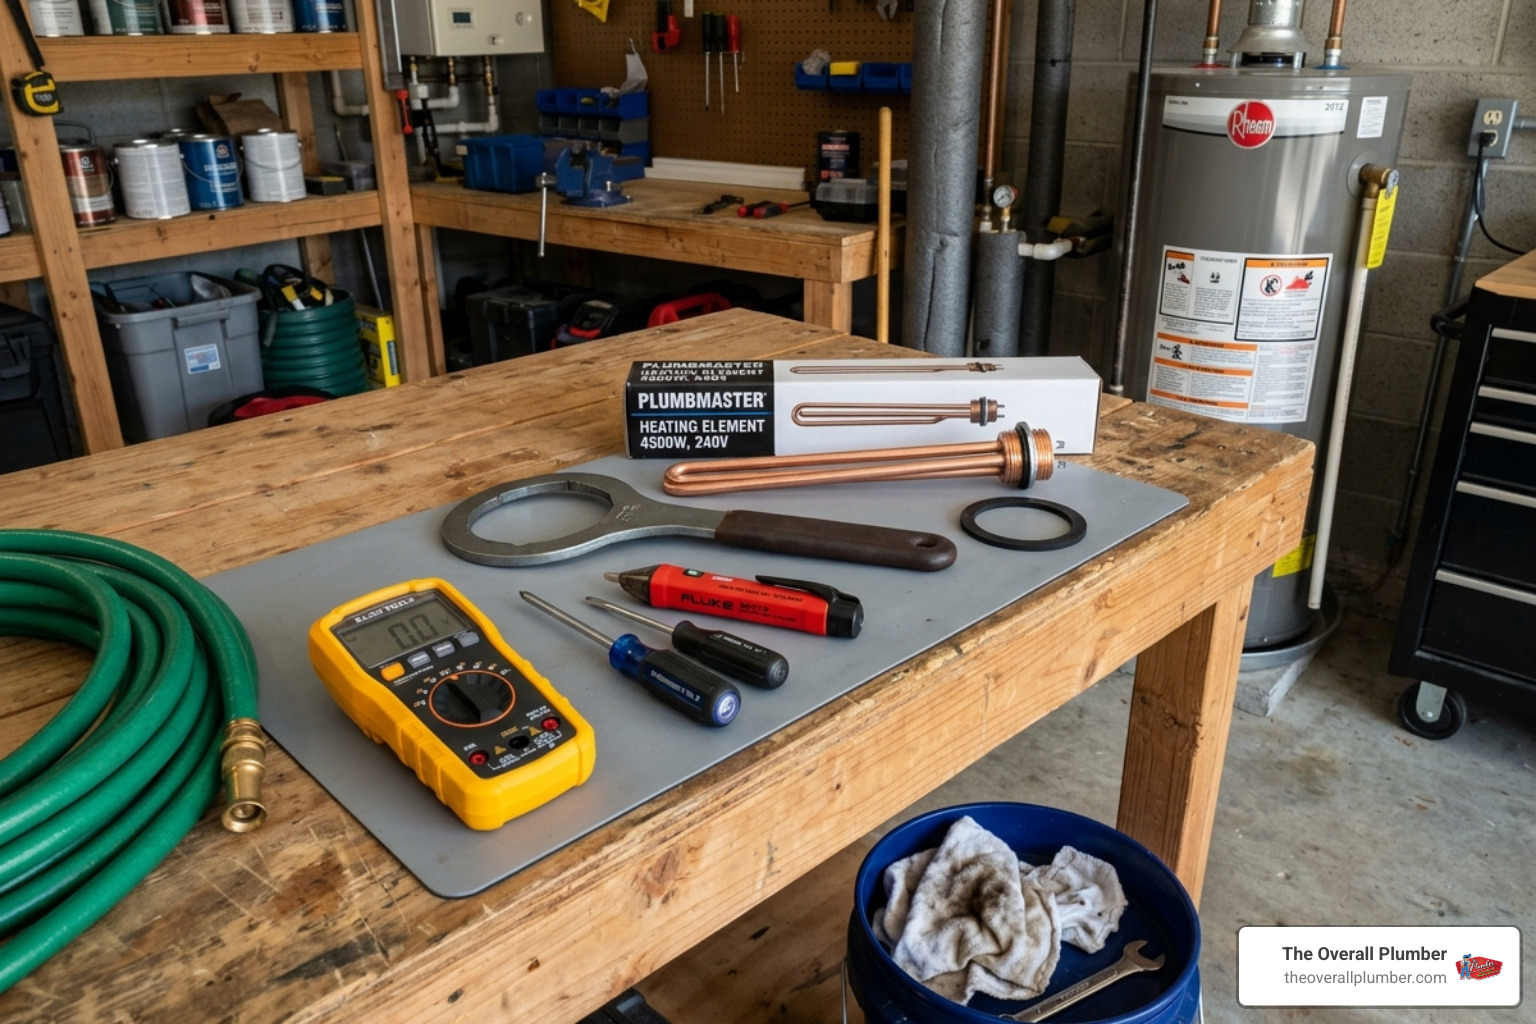
Don’t start this project until you have everything on the floor next to you. There’s nothing worse than having a drained tank and realizing you don’t have the right wrench.
Essential Tools:
- Element Wrench: A specialized 1-1/2 inch thin-walled socket wrench (often called a “water heater element socket”).
- Screwdrivers: Both Phillips and flat-head for the access panels and wire terminals.
- Multimeter: For the diagnostic steps mentioned above.
- Garden Hose: To drain the tank.
- Non-contact Voltage Tester: Your life-saving “is the power really off?” tool.
Required Materials:
- Replacement Heating Element: Ensure the wattage and voltage match your old one.
- New Rubber Gasket: Usually included with the new element.
- Rags and a Bucket: To catch the small amount of water that remains after draining.
Selecting the Correct Replacement Heating Element
You can’t just grab any element off the shelf. Using the wrong wattage can trip your breakers or provide insufficient heat.
Wattage and Voltage
Look at the data plate on the side of your water heater. It will list the “Wattage” (usually 3500W, 4500W, or 5500W) and “Voltage” (usually 240V). Most residential units in the Houston area are 240V. Never install a higher wattage element than what the manufacturer specifies; the wiring and the Hot Water Heater Replacement safety standards are designed for a specific load.
Screw-In vs. Flange
- Screw-in Elements: These are the most common. They have threads and screw directly into the tank.
- Flange Elements: These are held in place by four bolts. They are less common in modern residential tanks but are still found in some older or specialized models.
Upper vs. Lower Elements
In a standard dual-element heater, the upper and lower elements are often identical in wattage, but they are not the same in function. The upper element heats the top of the tank first to ensure you have some hot water quickly. Once the top is hot, the power switches to the lower element. If you’re replacing one, we often recommend replacing both—if one has reached the end of its 10 to 15-year lifespan, the other isn’t far behind.
Step-by-Step Instructions for Replacing a Water Heater Heating Element
Once you’ve diagnosed the fault and bought the parts, follow these steps to perform the electric heater element replacement.
Step 1: Total Power Shutdown
Turn off the breaker. Verify with your tester. If you skip this, you are dealing with 240 volts, which is extremely dangerous.
Step 2: Drain and Flush the Tank
You cannot remove the element while the tank is full, or you’ll turn your garage or utility room into a swimming pool.
- Turn off the cold water supply valve (usually located on top of the heater).
- Attach a garden hose to the drain valve at the bottom.
- Open a hot water faucet somewhere in the house to allow air into the system (this prevents a vacuum).
- Open the drain valve.
- Pro Tip: While the tank is draining, “pulse” the cold water supply valve on and off a few times. This helps stir up sediment and flush it out through the hose.
Step 3: Remove the Old Element
- Remove the access panel and move the insulation aside.
- Disconnect the two wires from the element.
- Use your element wrench to unscrew the old element counter-clockwise. Be prepared for a small splash of water as it comes loose.
Step 4: Install the New Element
- Slide the new rubber gasket onto the base of the new element.
- Insert the element into the tank and thread it in by hand first to avoid cross-threading.
- Tighten it with the element wrench until it is snug. Do not over-tighten, as you could crush the gasket and cause a leak.
Step 5: The Most Important Step (Refilling)
NEVER turn the power back on until the tank is completely full of water. If the element is energized while dry (even for a few seconds), it will “dry fire” and burn out instantly.
- Close the drain valve and remove the hose.
- Turn the cold water supply back on.
- Keep the hot water faucet in the house open until water flows steadily without air “burps.”
- Once the tank is full, check the element for leaks.
Step 6: Wiring and Power
- Reconnect the two wires to the element terminals.
- Replace the insulation and the access cover.
- Turn the circuit breaker back on.
- Wait about 30–60 minutes for the water to heat up.
Draining and Flushing: Why It Matters
In areas like Galveston and Harris County, our water can carry minerals that settle at the bottom of the tank. This sediment creates an insulation layer over the lower element. The element has to work twice as hard to heat the water through the “mud,” which leads to premature failure.
We recommend flushing your tank once a year. If you notice a “popping” or “rumbling” sound when the heater is running, that’s steam bubbles escaping from under the sediment—a sure sign it’s time for a flush. If your tank is older, you might even consider Tankless Water Heaters On Sale as a long-term solution to sediment issues.
Hot Tub Heating Element Considerations
Replacing a hot tub element follows similar principles but with a few specialized twists. Hot tub elements are often “low-density” or made of Titanium to withstand the chemicals used in the water.
Can You Upgrade a Hot Tub Element?
A common question is whether you can swap a 4kW element for a 5.5kW element to heat the tub faster.
- The Risk: Your spa’s control board, wiring, and GFCI breaker are rated for a specific amperage. Upgrading the wattage increases the current draw. If your system isn’t designed for it, you could melt the control board or constantly trip the breaker.
- The Verdict: Only upgrade if the manufacturer’s documentation explicitly states the spa pack can handle the higher load.
Common Mistakes to Avoid During Replacement
We’ve seen it all in the field. Here are the “don’ts” that will save you time and money:
- Dry Firing: As mentioned, turning on the power before the tank is full will destroy your brand-new element in seconds.
- Using the Wrong Voltage: Installing a 120V element into a 240V system will cause it to burn out immediately.
- Ignoring the Gasket: Never reuse an old gasket. They flatten over time and will almost certainly leak if disturbed.
- Cross-Threading: These tanks are made of relatively soft steel. If you force the element in crookedly, you can ruin the entire water heater.
Cost Analysis: Repair vs. Replace
Is electric heater element replacement worth it?
- DIY Cost: $10–$60 for parts and a cheap wrench.
- Professional Repair: $200–$300.
- New Water Heater: $500–$1,500+ depending on the model and installation costs.
If your tank is less than 10 years old and isn’t leaking from the shell, replacing the elements is a fantastic investment. However, if the tank is over 12 years old and showing signs of heavy rust, you might be better off putting that $200 toward a new unit.
When to Call a Professional
While many DIYers can handle a screw-in element, there are times when it’s safer to call in the experts at The Overall Plumber.
- Electrical Discomfort: If the sight of a breaker panel makes you nervous, don’t risk it. 240V is unforgiving.
- Stuck Elements: Sometimes mineral buildup makes the element impossible to unscrew with standard tools. We have heavy-duty impact tools that can remove them without damaging the tank.
- Recurring Failures: If you’re replacing elements every six months, you have a deeper electrical issue or a severe water quality problem that needs professional diagnosis.
- Leaking Tank: If water is dripping from the bottom of the heater (not the valves), the inner tank has likely corroded through. No amount of element replacement will fix a cracked tank.
For expert assistance with your water heater in Brazoria or Galveston County, contact The Overall Plumber today at 281-668-8055.